


 Introduction
Mostly, development projects are done in Eclipse IDE since it supports Maven.
Description
Tp integrate Maven and Eclipse, M2Eclipse plug-in is required. Some features of the M2Eclipse plug-in are:
Maven tool is provided by default in all the latest versions of Eclipse. To install the Maven tool in Eclipse, one should follow the below steps:
- The plug-in can launch the builds and goals of Maven in Eclipse.
- The plug-in can manage the dependencies by downloading automatically from repositories.
- The plug-in can quickly fix as per the required dependencies.
- The plug-in supports GUI while creating projects in Maven.
Step-1
Follow the below steps to download eclipse.
Eclipse download
Step-2
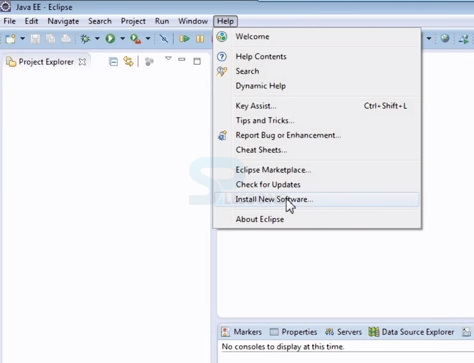
Open Eclipse and go to Help -> Eclipse Marketplace and search for maven integration as shown in the below image.
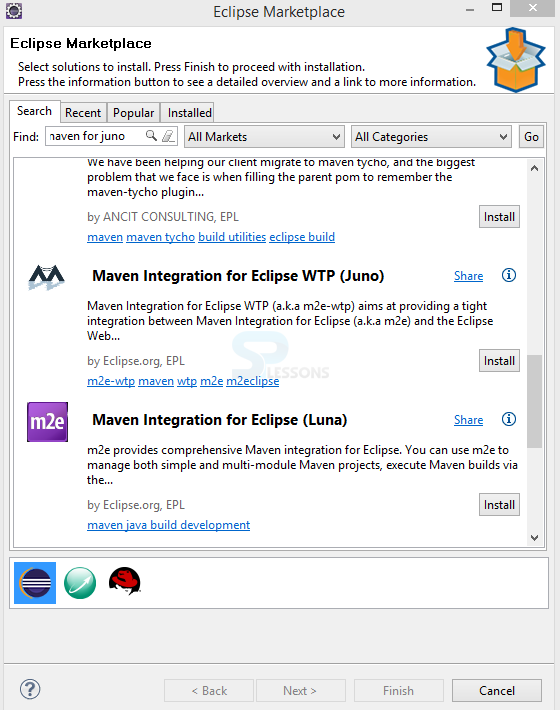
 Find out the plug-in as per the machines Eclipse IDE and click on Install.
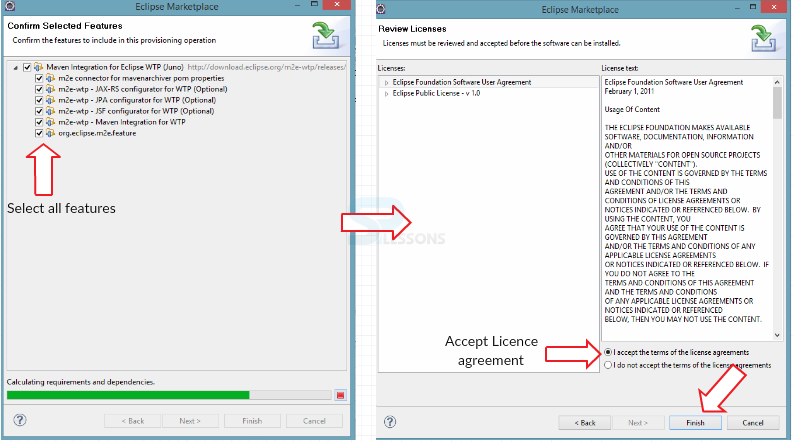
 Now, select the required Features and accept the licence agreement. Click on Finish and restart the Eclipse.
 Check the Maven Plug-in installation as shown below.

Step-3
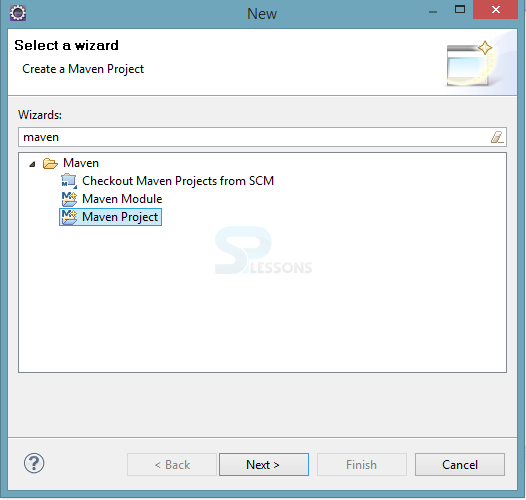
Now, start creating the project. Open File -> New -> Other ->search Maven. Select Maven Project and click on Next.
Step-3
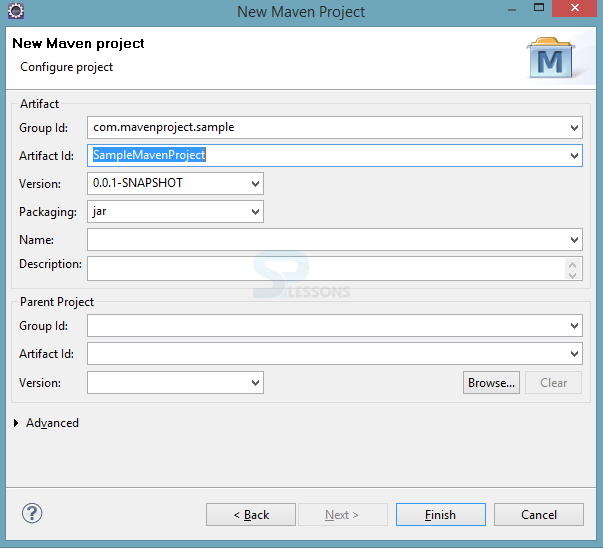
The following window appears asking to enter the details of Group id, Artifact id, Version and Packaging. Enter the necessary details of project and click on Finish.
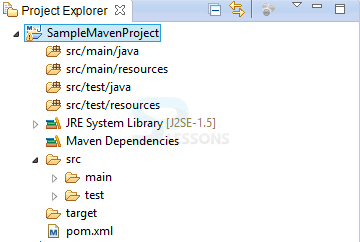
 The project structure appears with pom files, target folders, src folder, etc. in project explorer index as shown below.
Step-4
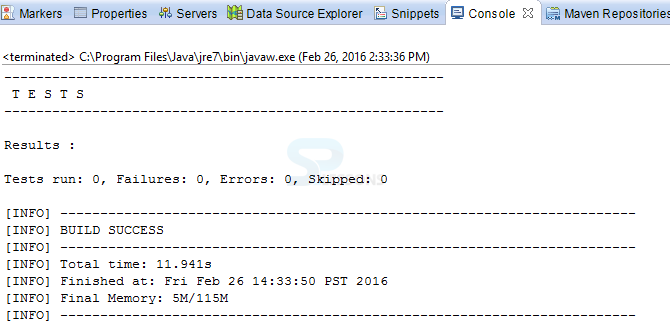
Run the project by right-clicking on the project SampleMavenProject -> Run as -> Maven Test. The following output showing that the build is successful appears on the screen.
 Finally, Maven Eclipse integration is done.
Points
- Eclipse is the most used IDE in software development.
- M2Eclipse plug-in is necessary to integrate the Eclipse with Maven.
- Maven structure possess pom files, target folders, and src folders.