


 Introduction
GitHub pages are the static hosting service for the site which are mainly used to hot developers project pages from repository of GitHub. Following are the concepts covered.
- GitHub Pages
- Issues
- Danger Zone
- Transfer ownership
- README, .gitignore and Live Editing
- .gitignore
Description
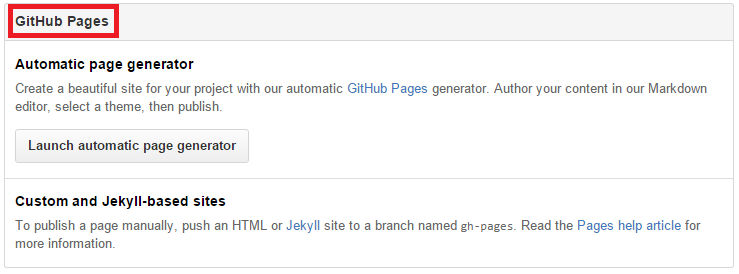
One final feature is very interesting and useful it is “GitHub Pages” which helps in creating pages for a site. So if a developer want to have more than his GitHub repository, if developer actually want to have a site that's hosted about his own project, can do that right through GitHub and it doesn't cost him anything more. The way it works is by just pushing HTML site to a branch named “gh-pages” and can also use the automatic page generator that's built in page. But the automatic page generator is an easy tool that gives a WYSIWYG editor to create pages. So it’s a waste of time setting up pages for repository and it's nice because every thing stored in source control and easily modifiable.
Description
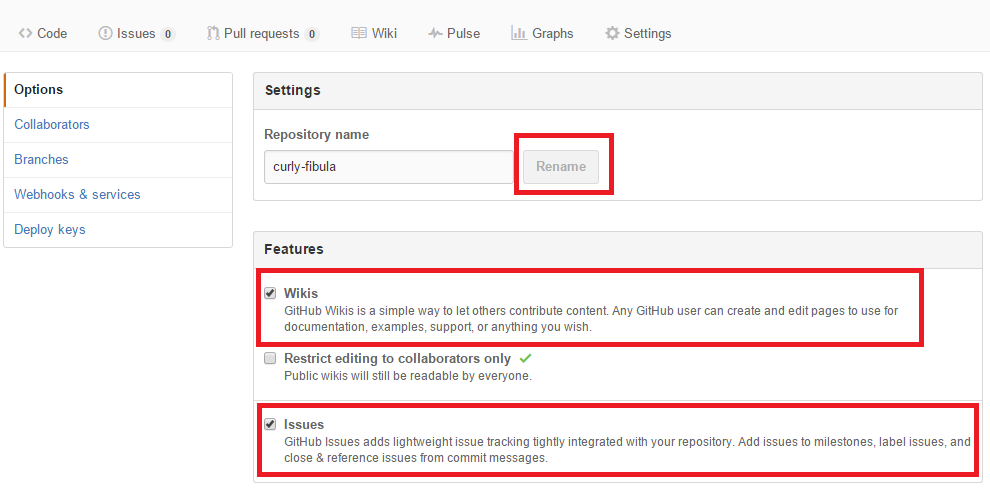
Issues are one of the best way that people can let developer know about problems they have or feature requests or other things that they'd like to see added in to the project. It is pretty light weight way of handling things. This gives developer a little bit of project management inside of GitHub. That doesn't mean developer can't use his own project management and the issues in GitHub actually can work with some of the other project management tools out there. A lot of them will actually tie in and pull the issues out of GitHub so that they can synchronize between the two systems.
Description
The last part is called the “Danger Zone”. These are all of the aspects of the settings that can change that will have a significant impact. The first one is to make repository private. This option vary between paid account and free account. If upgraded to a paid account you could get a private repository, and there would be a button on the right that would allow to create a private repository.
Description
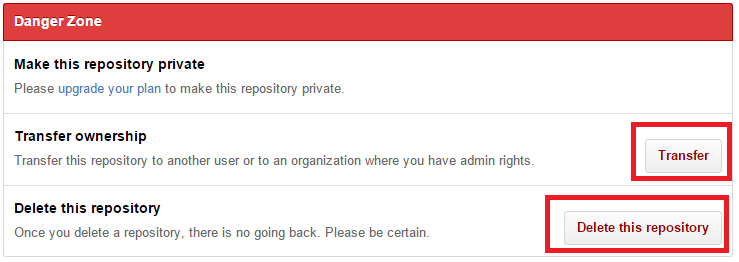
Another operation is a “Transfer ownership”. This comes up a lot when developer want to transfer to an organization from something started by himself. It happens, and might also just be transferring to another user, so the person who is maintaining a project, can pass it to someone else. When it transferred, It’s actually going to prompt type in the name of repository and the new owner, and the reason that they do this is so that it is transferred to the correct repository. This is a little bit harder of a barrier than just a confirmation box, but it prevents from making a mistake that might regret, and it gives a lot of information about what's actually going to happen.
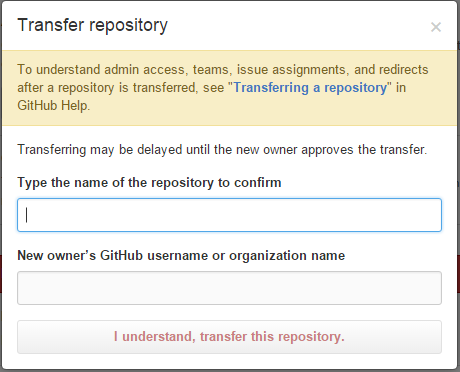 This is actually the same style of thing that it does for deleting a repository, because once if it is deleted, it's gone, it's off the GitHub website and might still have some local copies of the files and the repositories, but GitHub has forgotten about it. So having any wikis, issues, comments or branches that people didn't have pulled locally anymore, might run into some problems. So be careful here if while deleting the repository. They make it type in the name of the repository as confirmation, so it's hard to accidentally do this. And that's pretty much it for the settings having access to in GitHub.

Description
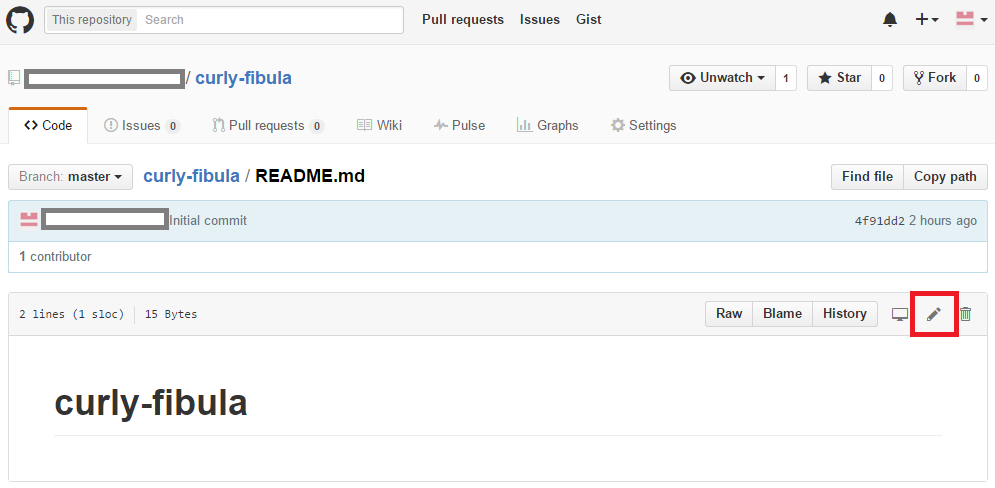
When a new repository created, it is initialized with a README file. README files are a great place to describe a project in more detail, or add some documentation such as how to install or use a project and which is a “.md” file called as markdown file. This is useful and actually going to be editable inside of source control in Git.
 Click the link README.md file so that it moves to editing page of README where editing can be done. On bottom left corner of README file there are some options and can find a link for editing. Click the edit tab now the page will be directed to another page. The following steps shows how to edit README.md file.
Step 1
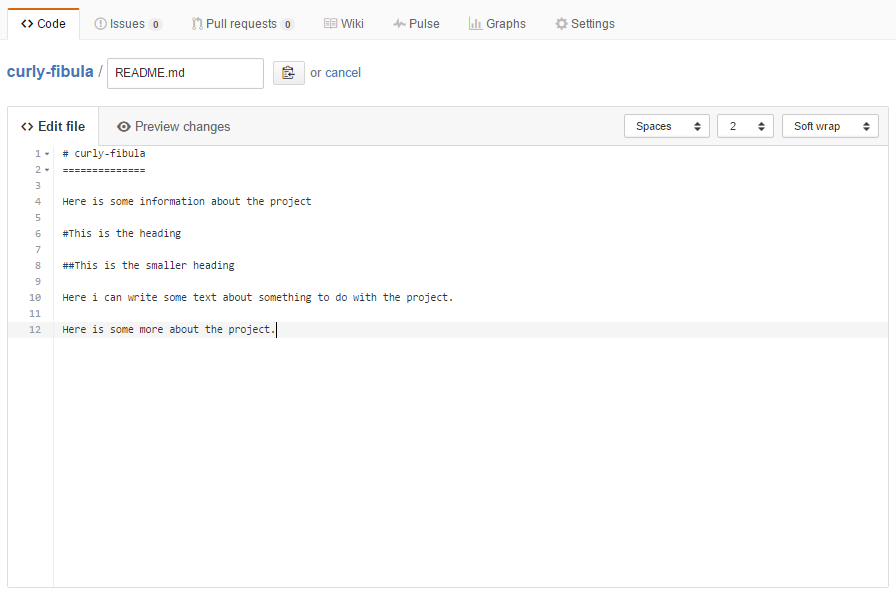
In this page two other options are provided one is “Edit file” were you can start typing something about your project and the other one is “preview”. The modification done to the project can be seen through this preview option.
Step 2
The below images show the edit and preview options.
 preview options

Step 3
Before saving the commit changes, down the page a window provided called “commit summary”. Where the README file updated status can be typed as shown in the figure below and then click the button commit changes.

Step 4
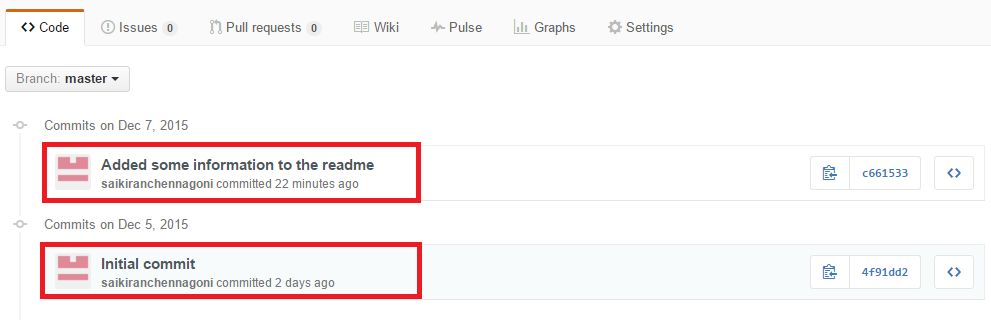
Go back and check the history of that repository and can find some modification done to the repository, the change can be seen in README.md file which shows the updated status of readme file as shown in the fig below.
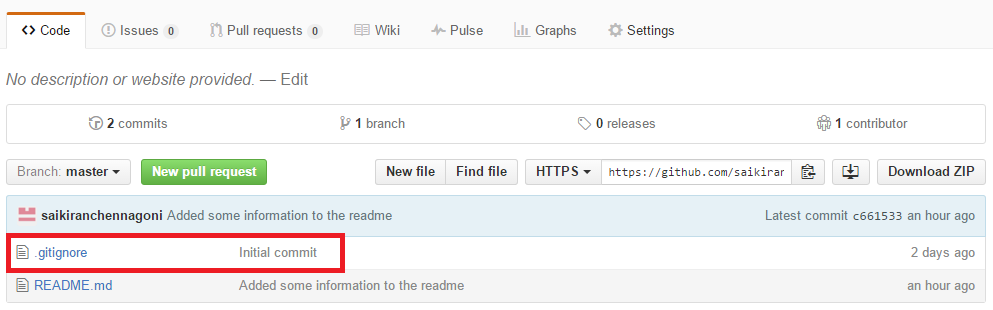
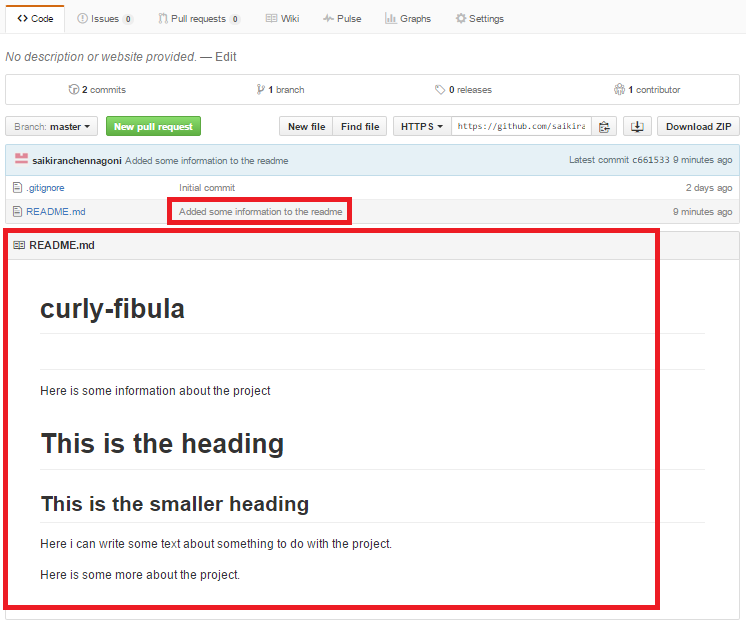 Here the fig show the most recent commit made “Added some information to the read me” and also see the README appears on the main page of the repository and this is the first information that people can see about this.
Step 5
The commits made can be seen through the link provided in the main page. By clicking the link, the page directed to a new page where the initial commit provided which is the one that was setup, when a repository created and also the commit added to the README file.
 click the commit link it opens the page shown below.
Description
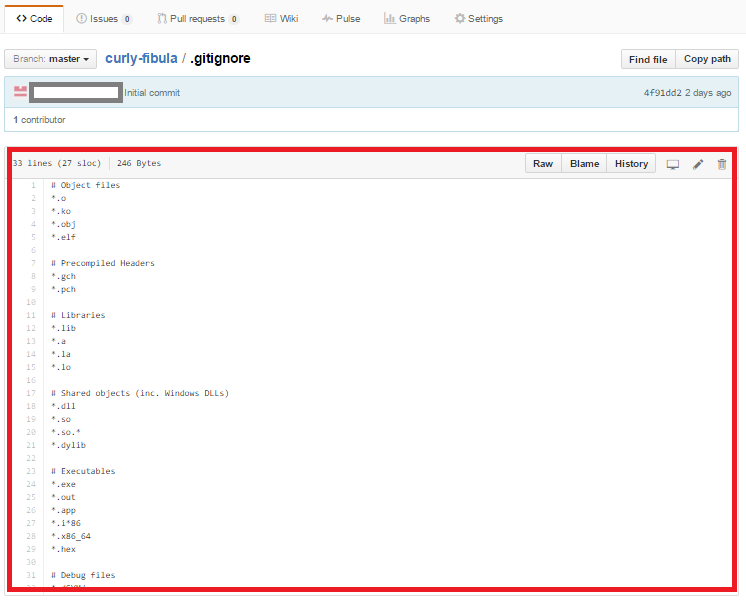
The last thing to know was “.gitignore” file, this can also be noticed in source control. The main reason behind creating a .gitignore file was it has patterns that describes different parts of a project and files want to be exclude. By clicking the .gitignore file a code appears showing different parts of a project. The thing to be remember was the editing should be done in the same language that was picked initially and editing can be done by clicking the edit tab provided at the top or can be done in source control work flow. Either ways works fine.
 Click .gitignore it opens the page shown below.
Key Points
- Developers can host their site using GitHub Pages.
- Issues are one of the best way to intimate the problems to the developer.
- README file is the first initialized file after creating a repository.