


 Introduction
Github is commonly known as a repository hosting service which is a web based service. The chapter demonstrate about the GitHub Installation. Following are the concepts covered.
- Installing GitHub
Description
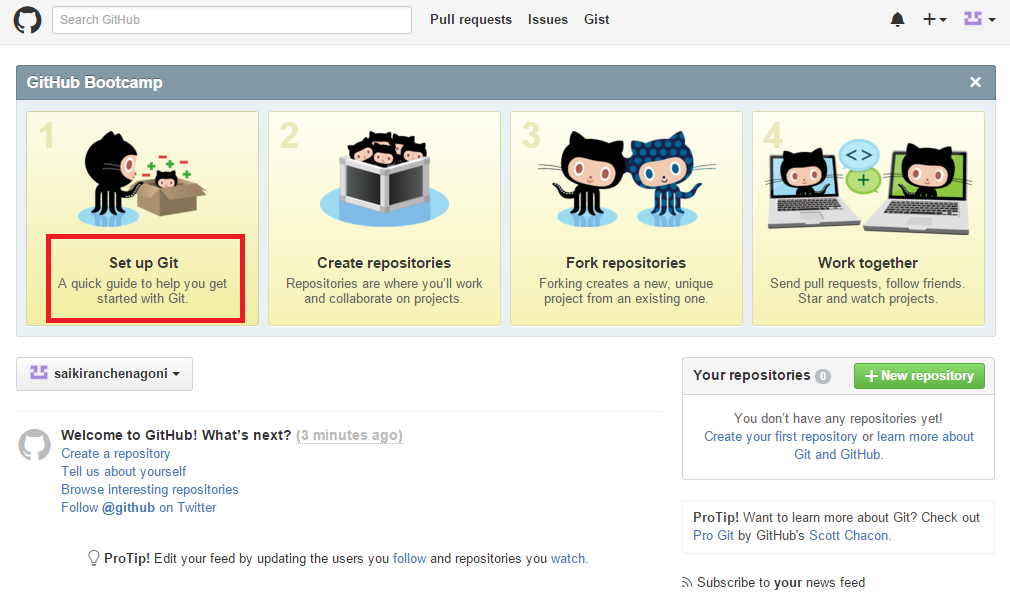
Create an account with GitHub at the official website of GitHub and then install Git. On the home page, immediately after signing in, a set of instructions can be seen.
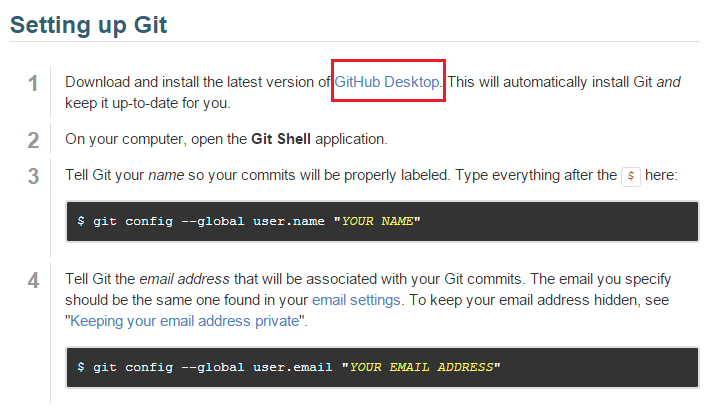
There is a link to set up git. By clicking that link, it’s going to open up a new tab that provides instructions for how to install Git. In the set up window, it is provided with the download link for the latest version of GitHub for windows. Below are the step by step process how to download and install Git.
Step 1
Create an account in Github official website.
Step 2
Click the “link set up Git” provided in the home page immediately after logging, the below image shows the set up Git link.
Step 3
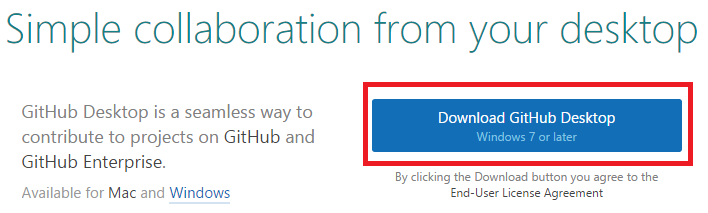
After clicking set up link the page get directed to a new tab in which it is provided with the download link under the set up Git Link, the below image shows the download link.
Step 4
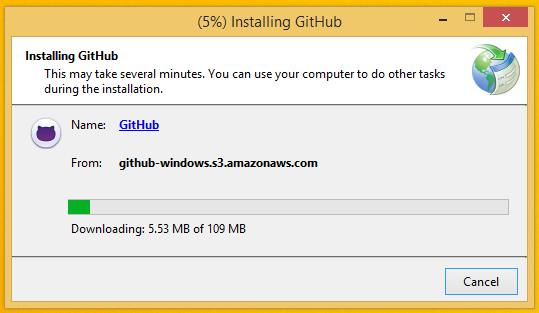
Download the file by clicking the Download button and start the installation process.
 Run the application to install.
Key Points
- GitHub official website provides the setup link.
- Developers can store their projects using GitHub.
- GitHub can be installed on Windows or on Mac OSX.
- GitHub provide both personal and organization accounts.