


 Introduction
This chapter demonstrate about the JUnit Continuous Test. This Continuous test available with the infinite test will run automatically while running the test cases. Following are the concepts covered.
- Continuous Test
- Plug in with Eclipse
Description
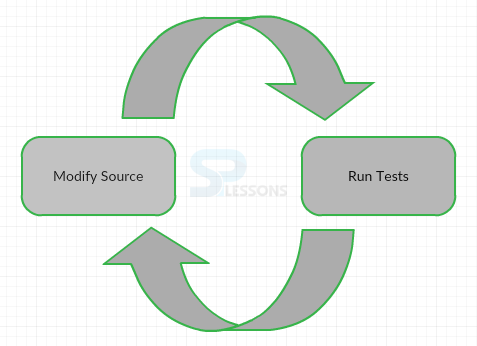
Continuous testing is a tool to monitor the source code. If any changes are made to the source code it detects the changes and automatically runs JUnit tests that are associated with the code. The following image demonstrate the JUnit Continuous Test.
Description
In order to use JUnit Continuous Test user need to download the Continuous Test from the official page and add to the Eclipse, then it will run continuously while performing the test cases. Following are the steps to get the continuous test.
Step 1
In order to get the JUnit Continuous testing tool go to the official page JUnit .org.
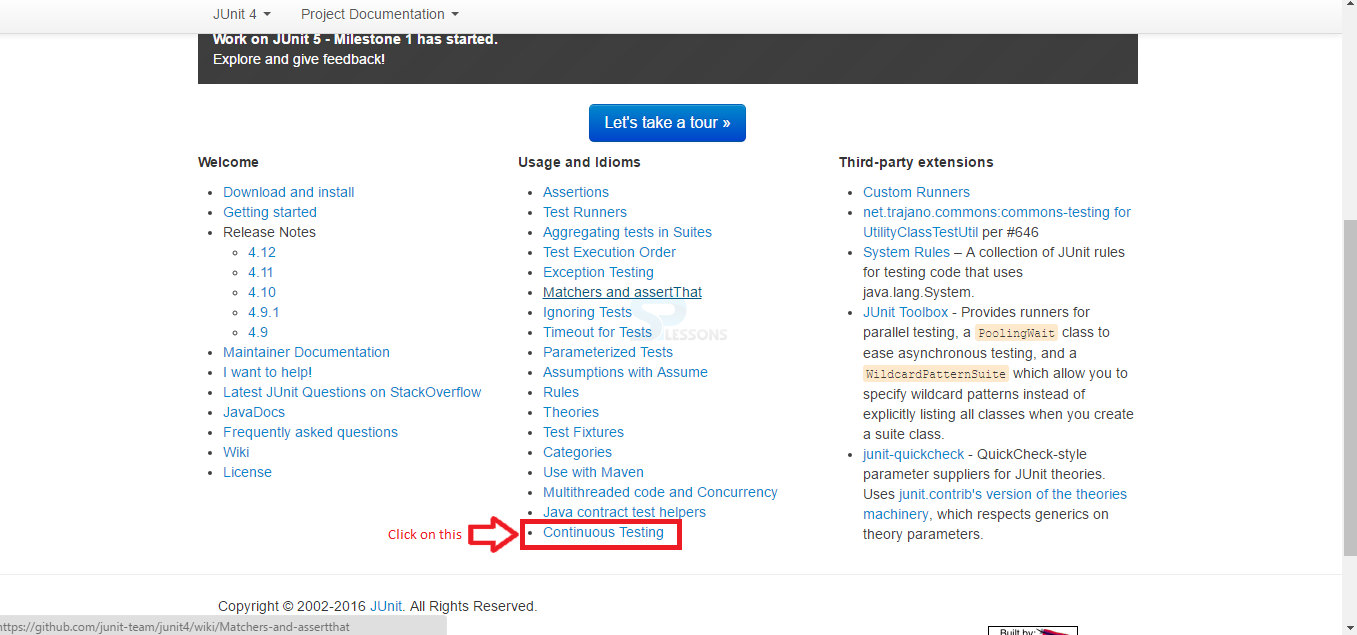
Step 2
A window get appeared providing some options, select by clicking Continuous Testing as shown in below image.
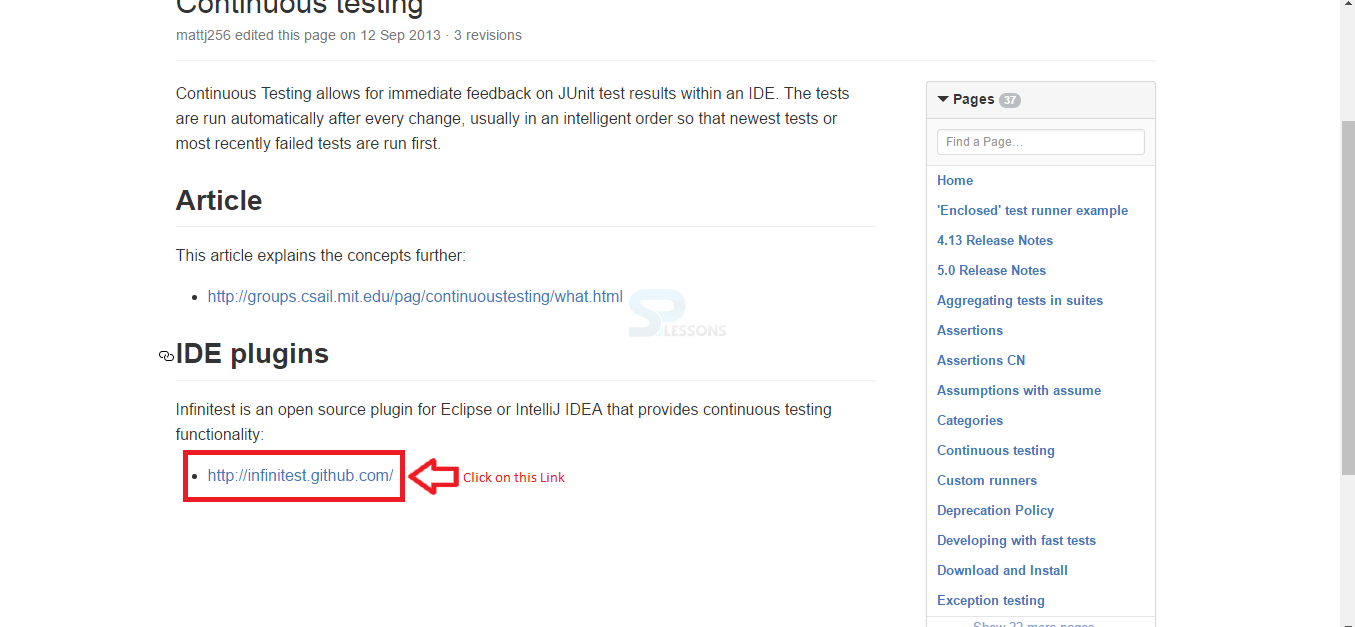
Step 3
Now the page redirects to the IDE plugins, select and proceed by clicking the provided link as shown in below image.
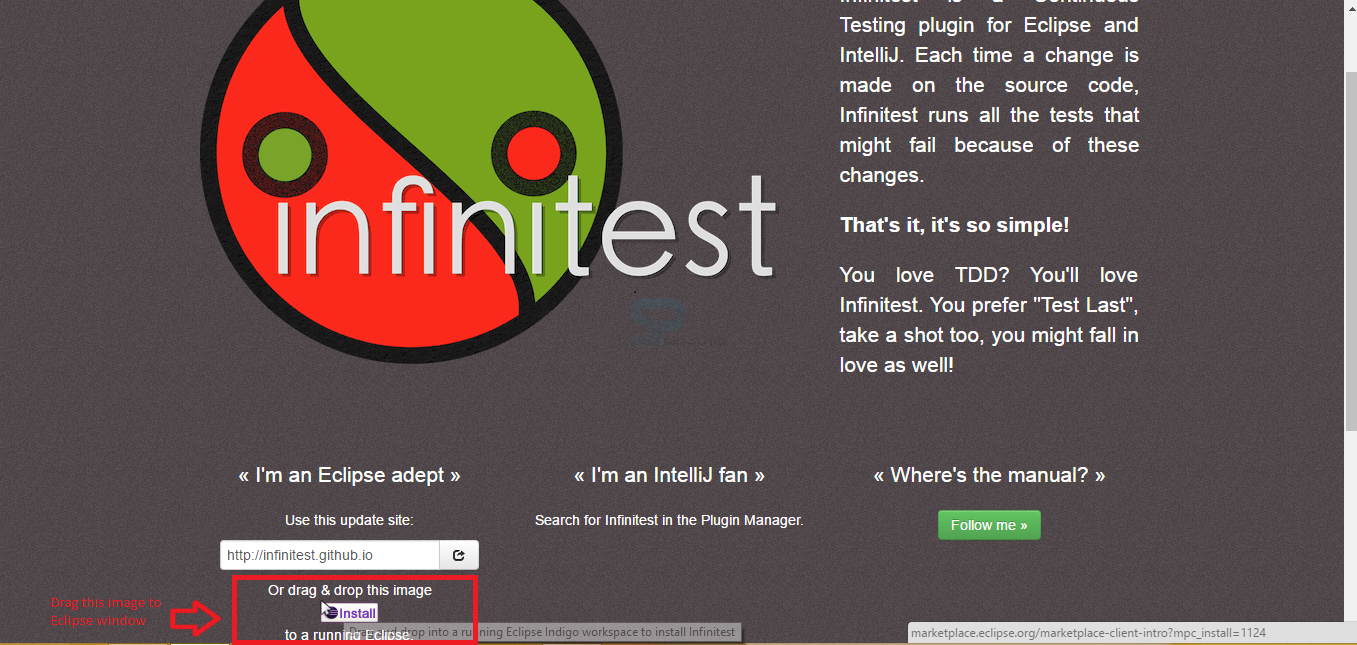
Step 4
The page redirects to another page named as infinitetest and with the install image. Select the image and drag and drop in to Eclipse as shown in below image.
Step 5
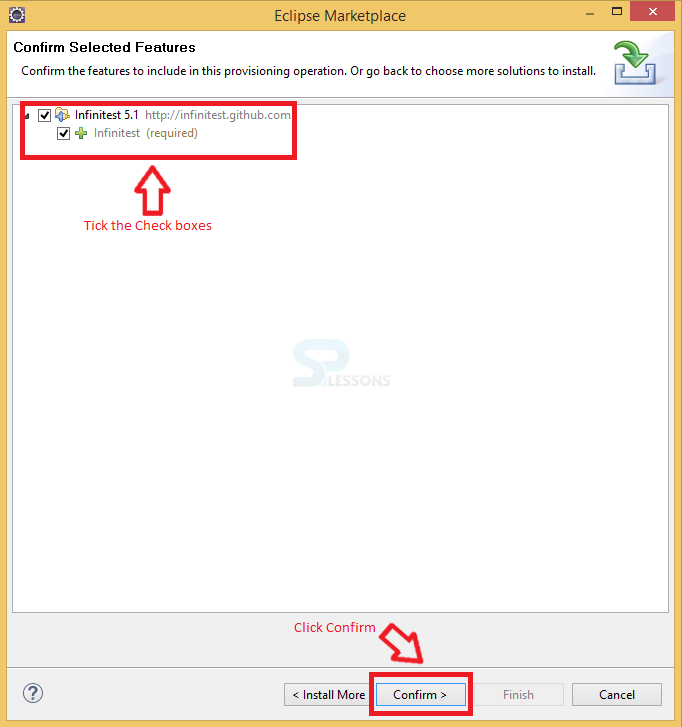
Now a pop window get appeared named as Eclipse Marketplace with Confirm Selected Features proceed by ticking the infinite test and click on the Conform button as shown in below image.
Step 6
Now another window get appeared known as Review Licenses click on the license agreement and proceed by Clicking Finish button. As shown in below image.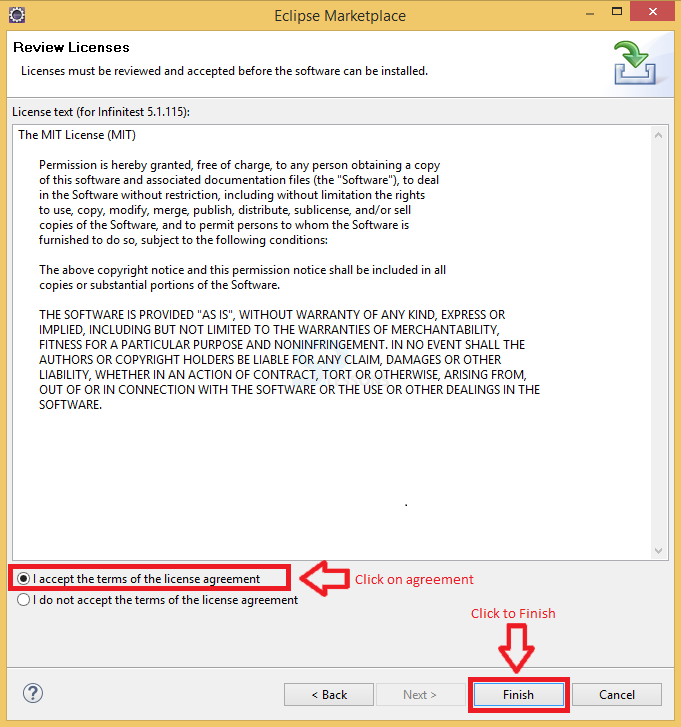
Step 7
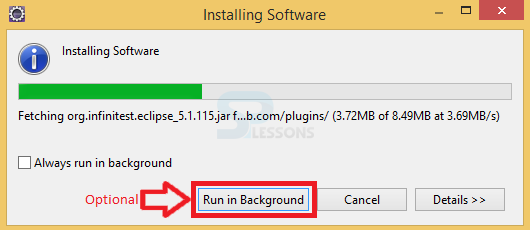
A another dialogue box will appear known as Installing Software indicating the status bar providing an option to Running in Background as shown in below image image.
Step 8
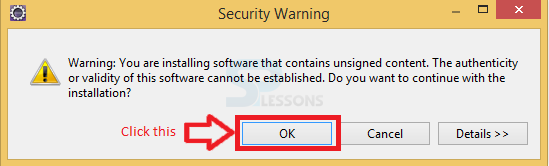
Now a window appear known as Security Warning appears with warning message proceed by clicking Ok button as shown in below image.
Step 9
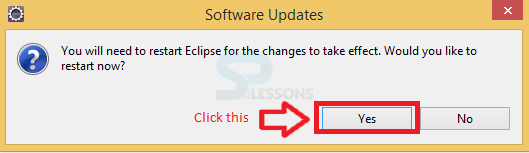
A window called Software Updates appear asking the user permission to restart the Eclipse proceed by clicking Yes button as shown in below image.
Examples
In order to get the error messages in the continuous testing changes are made to be made to the code as shown below.
[c]import java.util.*;
public class TrackingService {
private int total;
private int goal;
private List <HistoryItem> history = new ArrayList<HistoryItem>();
private int historyId = 0;
public void addProtein(int amount)
{
total +=amount;
history.add(new HistoryItem(historyId++, amount, "add", total));
}
public void removeProtein(int amount)
{
total -= amount;
if(total < 1);
total=0;
history.add(new HistoryItem(historyId++, amount, "subtract", total));
}
public int getTotal() {
return total;
}
public void setGoal(int value) throws InvalidException {
//if (value < 0) //throw new InvalidException(); goal = value; } public boolean isGoalMet(){ return total >= goal;
}
public List<HistoryItem> getHistory() {
return history;
}
}[/c]
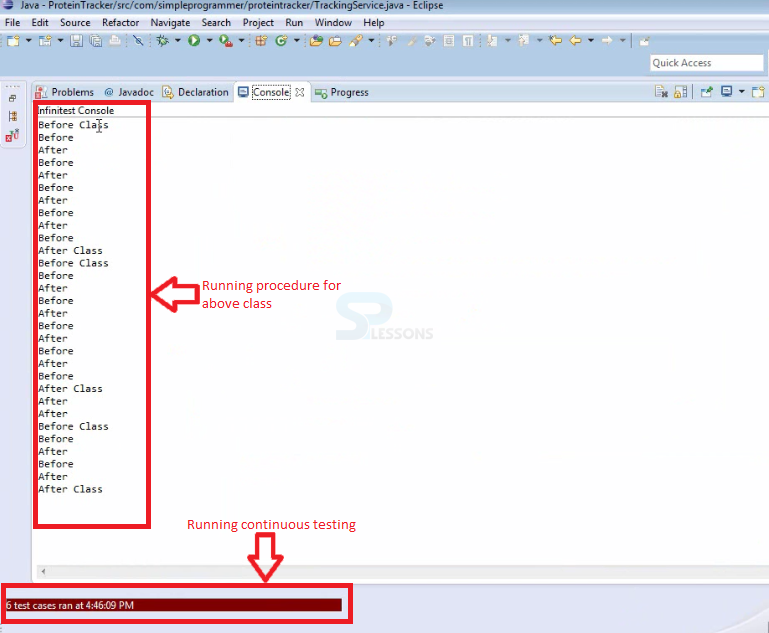
The output for the above code can be seen in console view as shown in below image.
 Now click on problems view in order to see the error message as shown in below image.

Key Points
- JUnit Continuous Test will run at the bottom of the page.
- Continuous test indicate description of the errors.
- Continuous test known as infinite test.
- Continuous test available in IDE plugins.