 Introduction
This chapter demonstrates about the WebGL Scene Interaction. If user not used scene interaction wil makes some dull games and applications. Three.JS should display content on the screen with its fully functionality such as ray casting control libraries, following are the concepts covered.
- Page Events
- Controls
- Collision Detection
 Description
WebGL Scene Interaction get started with the Page Events. In Three.JS and WebGL applications give access to all standard web pages functionality. For example user can create buttons or keyboard events or Mouse events to manipulate the view point and object of the scene for these user can also use standard HTMl CSS as a part of the WEBGL applications.
These technologies can be used to construct score or game control panel. Scene interaction get started by looking how to work with the keyboard. Mouse interaction is little bit complex in order to get these interaction user must familiar with the Collision detection and Raycasting .
The code below demonstrates to move the camera around with the arrow keys as shown below.
app.js
[c]
var example = (function() {
"use strict";
var scene = new THREE.Scene(),
renderer = window.WebGLRenderingContext ? new THREE.WebGLRenderer() : new THREE.CanvasRenderer(),
light = new THREE.AmbientLight(0xffffff),
camera,
plane,
box;
function initScene() {
renderer.setSize(window.innerWidth, window.innerHeight);
document.getElementById("webgl-container").appendChild(renderer.domElement);
scene.add(light);
camera = new THREE.PerspectiveCamera(
35,
window.innerWidth / window.innerHeight,
1,
1000
);
camera.position.z = 200;
scene.add(camera);
box = new THREE.Mesh(
new THREE.BoxGeometry(20, 20, 20),
new THREE.MeshBasicMaterial({
color: 0x0000FF
})
);
box.name = "box";
scene.add(box);
//ground
var texture = THREE.ImageUtils.loadTexture('content/grasslight-big.jpg') //texture from three.js examples
var planeMaterial = new THREE.MeshPhongMaterial({
map: texture,
side: THREE.DoubleSide
});
plane = new THREE.Mesh(new THREE.PlaneGeometry(200, 200), planeMaterial);
plane.rotation.x = 90 * (Math.PI / 180);
plane.position.y = -10;
plane.name = "plane";
scene.add(plane);
render();
}
function render() {
renderer.render(scene, camera);
requestAnimationFrame(render);
}
function checkKey(e) {
var left = 37,
up = 38,
right = 39,
down = 40,
increment = 1;
e = e || window.event;
if (e.keyCode == up) {
camera.position.z -= increment;
} else if (e.keyCode == down) {
camera.position.z += increment;
} else if (e.keyCode == left) {
camera.position.x -= increment;
} else if (e.keyCode == right) {
camera.position.x += increment;
}
}
window.onkeydown = checkKey;
window.onload = initScene;
return {
scene: scene
}
})();
[/c]
index.html
[c]
<!DOCTYPE html>
<html>
<head>
<title>WebGL with Three.js Fundamentals</title>
</head>
<body>
<div id="webgl-container"></div>
<script src="scripts/three.js"></script>
<script src="scripts/app.js"></script>
</body>
</html>
[/c]
Result
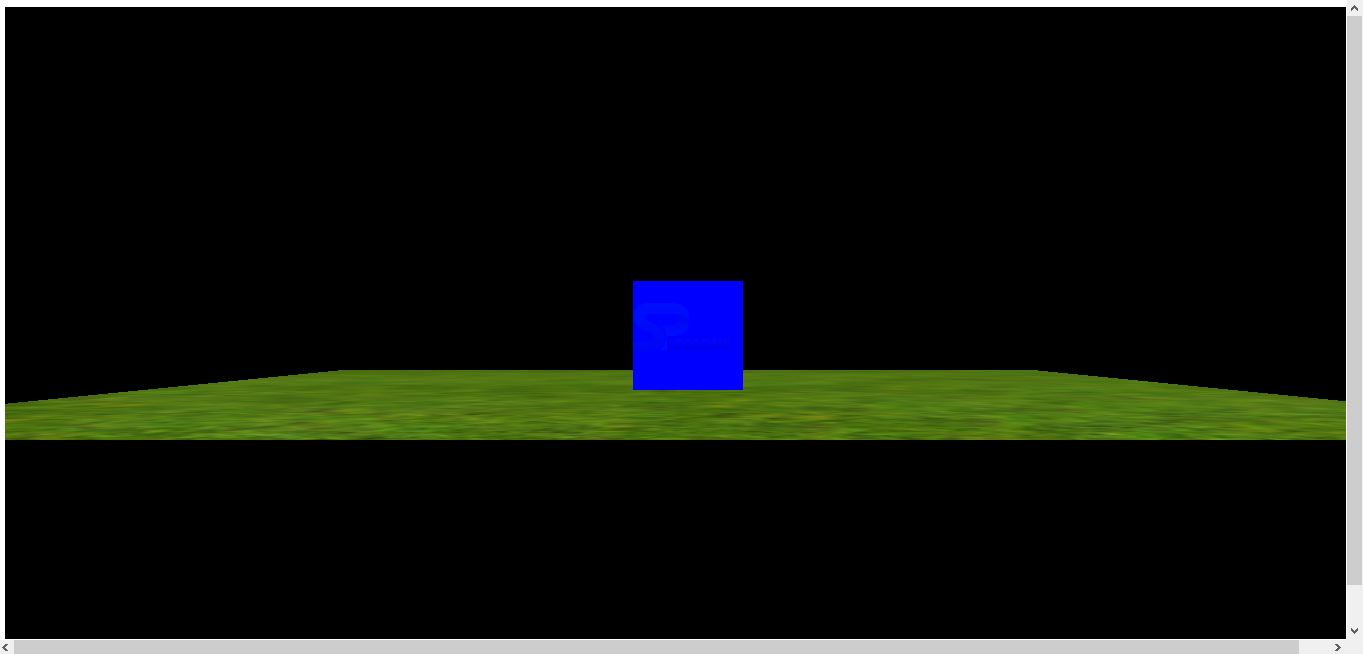
By running the above code in a preferred browser, user will get the output as shown below.
In the above example user can move the camera around the explore scene by using the arrow keys which is done by using the checkkey function.
 Description
While responding to the page events can work for simple scene interaction, there are some tasks which wont work well for example user creating a typical first person shooter game in which making the controls is very difficult and contain some tricky math problems most of the people not able clear the problems.
In Three.JS example folder there are number of different control libraries to utilize which probably cover the main types of controls which are using, some controls are listed below.
Libraries in examples\js\controls
Now look at how to integrate two common control libraries which are the Orbit and Fly.
Orbit
Orbit controls are the great and which allows user to explore an object or model. For example user need to explain about product by rotating and zooming in and out for which user need to use the Orbit controls.
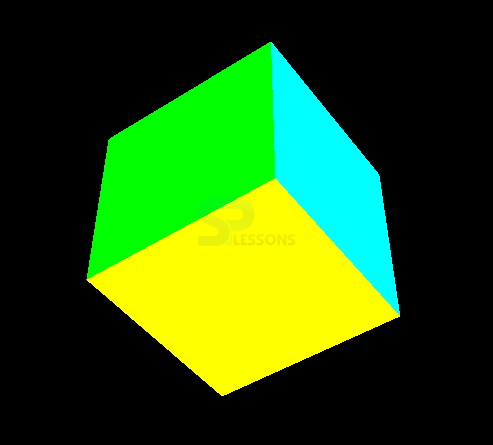
The code below demonstrates a cube which has different colors for each sides. User can rotate the cube by using the left mouse button and camera view point explore the object and mouse wheel is used to zoom in and zoom out the object.
app.js
[c]
var example = (function() {
"use strict";
var scene = new THREE.Scene(),
renderer = window.WebGLRenderingContext ? new THREE.WebGLRenderer() : new THREE.CanvasRenderer(),
light = new THREE.AmbientLight(0xffffff),
camera,
controls,
box;
function initScene() {
renderer.setSize(window.innerWidth, window.innerHeight);
document.getElementById("webgl-container").appendChild(renderer.domElement);
scene.add(light);
camera = new THREE.PerspectiveCamera(
35,
window.innerWidth / window.innerHeight,
1,
1000
);
camera.position.z = 100;
scene.add(camera);
box = new THREE.Mesh(
new THREE.BoxGeometry(
20,
20,
20),
new THREE.MeshBasicMaterial({
vertexColors: THREE.VertexColors
}));
assignColorsToCube(box);
scene.add(box);
controls = new THREE.OrbitControls(camera);
controls.addEventListener('change', render);
render();
}
function assignColorsToCube(cube) {
var colors = [
new THREE.Color("rgb(255,0,0)"),
new THREE.Color("rgb(0,255,0)"),
new THREE.Color("rgb(0,0,255)"),
new THREE.Color("rgb(255,255,0)"),
new THREE.Color("rgb(0,255,255)"),
new THREE.Color("rgb(255,0,255)")
];
for (var i = 0; i < 12; i += 2) {
var color = colors[i / 2];
//each cube face is made up of 2 triangles & we want same color for each
cube.geometry.faces[i].color = color;
cube.geometry.faces[i + 1].color = color;
}
}
function render() {
renderer.render(scene, camera);
}
window.onload = initScene;
return {
scene: scene
}
})();
[/c]
index.html
[c]
<!DOCTYPE html>
<html>
<head>
<title>WebGL with Three.js Fundamentals</title>
</head>
<body>
<div id="webgl-container"></div>
<script src="scripts/three.js"></script>
<script src="scripts/OrbitControls.js"></script>
<script src="scripts/app.js"></script>
</body>
</html>
[/c]
Result
By running the above code in a preferred browser the user will get the output as shown below.
Fly
Implementing Fly controls is very similar to the orbit controls. First user reference to the FlyControl.js Library then create new control variables to hold the Fly controls and create new THREE.Clock now initialize the total controls.
A new THREE.FlyControls instance passing in the camera and user need to set some options like movement and roll speed which is shown in the below demonstrated code.
app.js
[c]
var example = (function() {
"use strict";
var scene = new THREE.Scene(),
renderer = window.WebGLRenderingContext ? new THREE.WebGLRenderer() : new THREE.CanvasRenderer(),
light = new THREE.AmbientLight(0xffffff),
camera,
controls,
clock = new THREE.Clock(),
plane,
box;
function initScene() {
renderer.setSize(window.innerWidth, window.innerHeight);
document.getElementById("webgl-container").appendChild(renderer.domElement);
scene.add(light);
camera = new THREE.PerspectiveCamera(
35,
window.innerWidth / window.innerHeight,
1,
1000
);
camera.position.z = 300;
scene.add(camera);
box = new THREE.Mesh(new THREE.BoxGeometry(20, 20, 20), new THREE.MeshBasicMaterial({
color: 0x0000FF,
}));
//ground
var texture = THREE.ImageUtils.loadTexture('content/grasslight-big.jpg') //texture from three.js examples
var planeMaterial = new THREE.MeshPhongMaterial({
map: texture,
side: THREE.DoubleSide
});
plane = new THREE.Mesh(new THREE.PlaneGeometry(800, 800), planeMaterial);
plane.rotation.x = 90 * (Math.PI / 180);
plane.position.y = -10;
plane.name = "plane";
scene.add(plane);
scene.add(box);
controls = new THREE.FlyControls(camera);
controls.movementSpeed = 100;
controls.domElement = document.getElementById("webgl-container");
controls.rollSpeed = Math.PI / 24;
render();
}
function render() {
var delta = clock.getDelta();
controls.update(delta);
renderer.render(scene, camera);
requestAnimationFrame(render);
}
window.onload = initScene;
return {
scene: scene
}
})();
[/c]
index.html
[c]
<!DOCTYPE html>
<html>
<head>
<title>WebGL with Three.js Fundamentals</title>
</head>
<body>
<div id="webgl-container"></div>
<script src="scripts/three.js"></script>
<script src="scripts/FlyControls.js"></script>
<script src="scripts/app.js"></script>
</body>
</html>
[/c]
Result
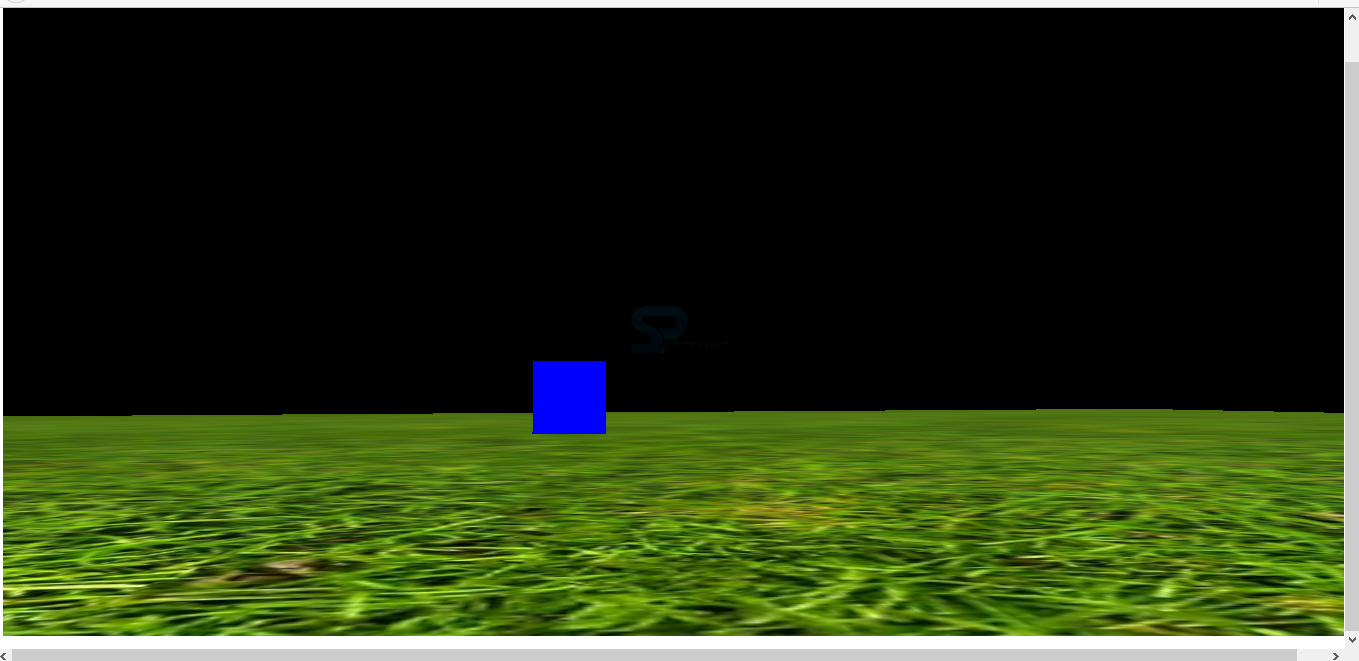
By running the above code in a preferred browser, user will get the output as shown below.
- Device Orientation
- Editor
- Fly
- FirstPerson
- Oculus
- Orbit
- Path
- pointerLock
- Trackball
- Transform
 Description
User wants to detect if object are interacting with each other or if the user clicked on an object which functionality is commonly known as Collision Detection.
According to the games, Collision detection could be detecting whether a bullet has hit an enemy or whether the player has touched a wall which should stop them from moving forward User can perform the simple collision detection checks by checking if coordinates overlap and calculating the distance between the objects there is a certain time and place for these techniques.
Three.JS provides functionality which makes these type of checks simple and also work with more complex scenarios for which user need to look up two approaches which are shown below.
- Raycasting
- Box3
 Description
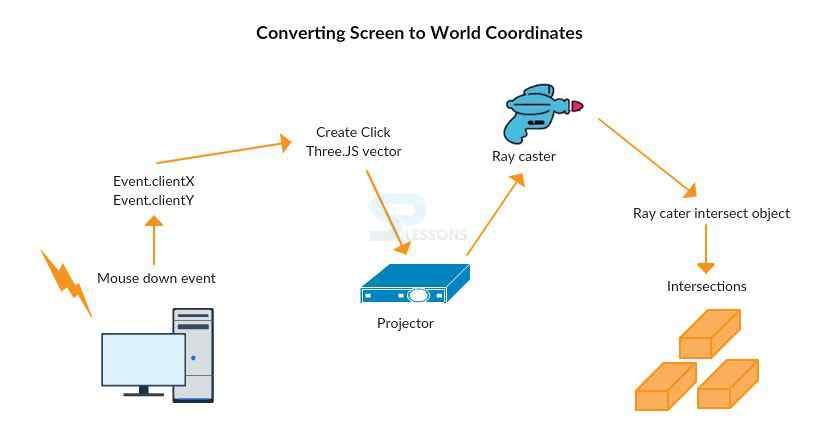
Raycasting is defined as the An invisible ray is drawn from one point in space to another. Now user can take an origin vector, a destination vector and place some object in between these and draw a ray between them. And user can return any object on ray then which hits. For example rays can miss a small object when projected from a large object and also when a ray originates from within a mesh no intersection will be registered which are contained inside the mesh the image below demonstrates the Raycasting as shown.
Raycasting is used to detect whether the user has clicked on a sphere and change its color if its clicked on. now the procedure below demonstrates how to convert the mouse click coordinates to Three.js World Coordinates.
Converting coordinates is not the most straight forward task which as shown in below image.
The code below demonstrates the there are two spheres by clicking these spheres user can observe changing the colors.
app.js
[c]
var example = (function() {
"use strict";
var scene = new THREE.Scene(),
renderer = window.WebGLRenderingContext ? new THREE.WebGLRenderer() : new THREE.CanvasRenderer(),
light = new THREE.AmbientLight(0xffffff),
camera,
objects = [],
sphere,
sphere2,
width = 800,
height = 600;
function initScene() {
renderer.setSize(width, height);
document.getElementById("webgl-container").appendChild(renderer.domElement);
scene.add(light);
camera = new THREE.PerspectiveCamera(
35,
width / height,
1,
1000
);
camera.position.z = 150;
scene.add(camera);
sphere = new THREE.Mesh(new THREE.SphereGeometry(20, 16, 16), new THREE.MeshBasicMaterial({
color: 0xff0000,
}));
sphere.position.set(-25, 0, 0);
objects.push(sphere);
sphere2 = new THREE.Mesh(new THREE.SphereGeometry(20, 16, 16), new THREE.MeshBasicMaterial({
color: 0x00ff00,
}));
sphere2.position.set(25, 0, 0);
objects.push(sphere2);
scene.add(sphere);
scene.add(sphere2);
render();
}
function render() {
renderer.render(scene, camera);
requestAnimationFrame(render);
}
function onDocumentMouseDown(event) {
var projector = new THREE.Projector();
var mouseClickVector =
new THREE.Vector3(
(event.clientX / width) * 2 - 1, -(event.clientY / height) * 2 + 1,
0.5);
projector.unprojectVector(mouseClickVector, camera);
var raycaster = new THREE.Raycaster(camera.position,
mouseClickVector.sub(camera.position).normalize());
var intersects = raycaster.intersectObjects(objects);
if (intersects.length > 0) {
intersects[0].object.material.color.setHex(Math.random() * 0xffffff);
}
}
window.onload = initScene;
window.addEventListener('mousedown', onDocumentMouseDown, false);
return {
scene: scene
}
})();
[/c]
index.html
[c]
<!DOCTYPE html>
<html>
<head>
<title>WebGL with Three.js Fundamentals</title>
</head>
<body>
<div id="webgl-container"></div>
<script src="scripts/three.js"></script>
<script src="scripts/app.js"></script>
</body>
</html>
[/c]
Result
By running the above code in a preferred browser, user will get the output is as shown below.
 Description
Box3 can be used to quickly determine if one object has touched or is inside another. Theree.JS geometry have a property called bound in box, user can utilize to detect if an object is inside another bounded box which is a quite quick calculation to do so probably ideal for scenario such as games.
The code below demonstrates Box3 here user can use the arrow keys to move a box around.
app.js
[c]
var example = (function() {
"use strict";
var scene = new THREE.Scene(),
renderer = window.WebGLRenderingContext ? new THREE.WebGLRenderer() : new THREE.CanvasRenderer(),
light = new THREE.AmbientLight(0xffffff),
camera,
box,
box2,
width=800,
height=600;
function initScene() {
renderer.setSize(width, height);
document.getElementById("webgl-container").appendChild(renderer.domElement);
scene.add(light);
camera = new THREE.PerspectiveCamera(
35,
width / height,
1,
1000
);
camera.position.z = 200;
scene.add(camera);
box = new THREE.Mesh(
new THREE.BoxGeometry(20, 20, 20),
new THREE.MeshBasicMaterial({
color: 0xFF0000
})
);
box.name = "box";
box.geometry.computeBoundingBox()
box2 = new THREE.Mesh(
new THREE.BoxGeometry(20, 20, 20),
new THREE.MeshBasicMaterial({
color: 0x00FF00
})
);
box2.name = "box2";
box2.position.x = 40;
box2.geometry.computeBoundingBox();
scene.add(box);
scene.add(box2);
render();
}
function render() {
renderer.render(scene, camera);
requestAnimationFrame(render);
}
function checkKey(e) {
var left = 37,
up = 38,
right = 39,
down = 40,
increment = 5;
e = e || window.event;
if (e.keyCode == up) {
box.position.z -= increment;
} else if (e.keyCode == down) {
box.position.z += increment;
} else if (e.keyCode == left) {
box.position.x -= increment;
} else if (e.keyCode == right) {
box.position.x += increment;
}
checkForCollision();
}
function checkForCollision(){
var boxPosition = new THREE.Box3().setFromObject( box );
var box2Position = new THREE.Box3().setFromObject( box2 );
if(boxPosition.isIntersectionBox(box2Position)){
document.querySelector('h1').textContent='Boxes touching';
}
else{
document.querySelector('h1').textContent='Boxes not touching';
}
}
window.onload = initScene;
window.onkeydown = checkKey;
return {
scene: scene,
box: box,
box2: box2
}
})();
[/c]
index.html
[c]
<!DOCTYPE html>
<html>
<head>
<title>WebGL with Three.js Fundamentals</title>
</head>
<body>
<h1>Boxes not touching</h1>
<div id="webgl-container"></div>
<script src="scripts/three.js"></script>
<script src="scripts/app.js"></script>
</body>
</html>
[/c]
Result
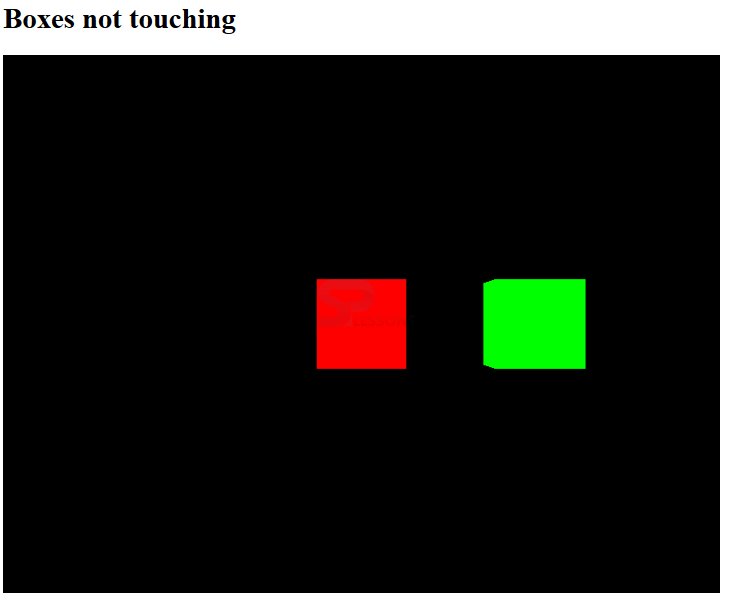
By running the above code in a preferred browser, user will get the output as shown below.
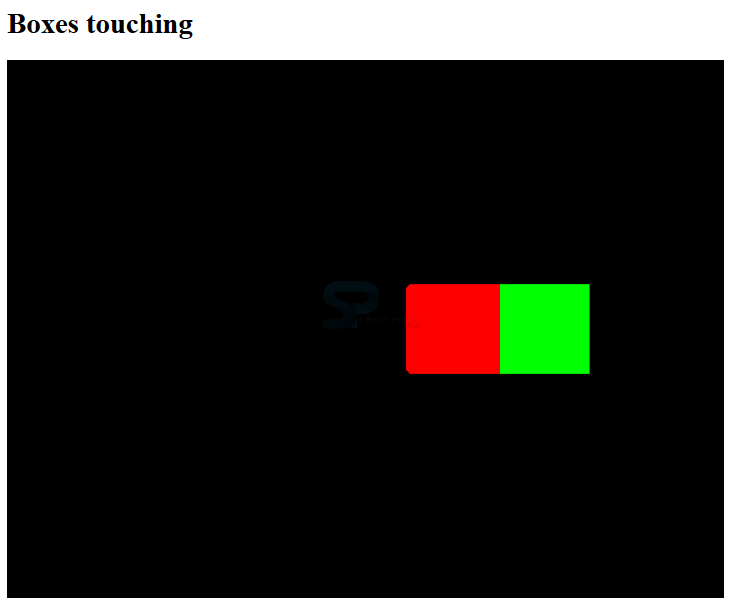
User can move the boxes by using arrow keys if the red box touches the green box the title get changes to Box Touching as shown in below image.
 Key Points
- Collision Detection is more useful while developing the games.
- Page events are used to create game or score control panel.
- Box3 used to determine one object is touched another object or not.


