 Introduction
This chapter demonstrates about the WebGL Render. Rendering feature is the rich of all the features and most performant and following are the concepts covered in this chapter.
- Camera
- Rendering
 Description
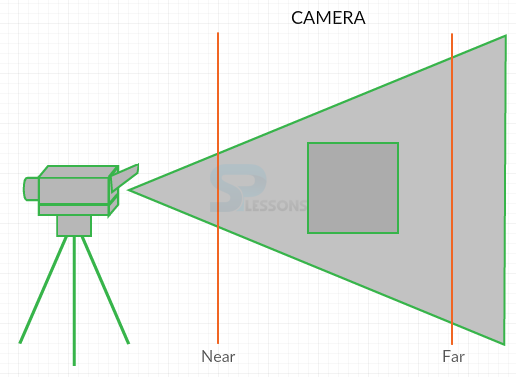
If user wants to create a camera then user need to specify few values about how it was set up, in which the first one is the FOV, or the camera frustum vertical field of view in which it flows from top to bottom of the screen and is specified in degrees. The lens values of camera lies between 35 and 45. Here the specified aspect ratio which is similar to the aspect ratio of TV or Monitor and width is divided by the height of the container.
In order to define the near and Far values user need to insert the object into the boundaries and Three.js no need to calculate the stuff out side of the boundaries. When user add camera by default its going to take the Z axis is as shown in below image.
Three.JS has mainly two types of cameras those are the Perspective Camera and Auto graphic Camera. Auto graphic camera does not display perspective but which is useful for the isometric view.
 Description
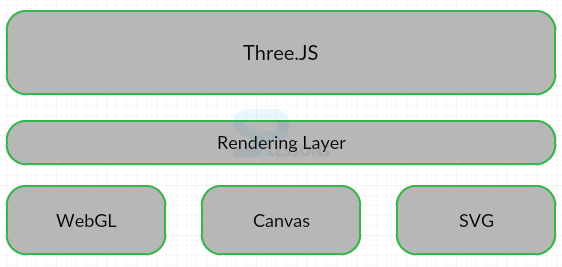
Three.JS is the best known rendering content but the rendering is separated out from the frame work. Three.JS support three main types of Renders in which WebGL is the rich of them and most performant and the remaining renders are the Canvas and SVG Render. The image below demonstrates the Rendering Options is as shown below.
SVG is not a part of the core library but it is available in the examples folder and Canvas render does not support all the features of WebGL the code below demonstrates the rendering is as shown below.
Three.js user can get from the official site of Three.js and click on download.
The code below demonstrates the App.js code is as shown below.
[c]
var example = (function(){
"use strict";
var scene=new THREE.Scene(),
renderer = window.WebGLRenderingContext ? new THREE.WebGLRenderer() : new THREE.CanvasRenderer(),
light= new THREE.AmbientLight(0xffffff),
camera,
box;
function initScene(){
renderer.setSize( window.innerWidth, window.innerHeight );
document.getElementById("webgl-container").appendChild(renderer.domElement);
scene.add(light);
camera = new THREE.PerspectiveCamera(
35,
window.innerWidth / window.innerHeight,
1,
1000
);
camera.position.z= 100;
scene.add( camera );
box = new THREE.Mesh(
new THREE.BoxGeometry(20,20,20),
new THREE.MeshBasicMaterial({color: 0xFF0000})
);
box.name="box";
scene.add(box);
render();
}
function render(){
box.rotation.y +=0.01;
renderer.render(scene, camera);
requestAnimationFrame(render);
}
window.onload = initScene;
return {
scene: scene
}
})();
[/c]
The code below demonstrates the HelloWorld.html is as shown below.
[c]
<!DOCTYPE html>
<html>
<head>
<title>WebGL with three.js Fundamentals</title>
</head>
<body>
<div id="webgl-container"></div>
<script src="scripts/three.js"></script>
<script src="scripts/app.js"></script>
</body>
</html>
[/c]
Result
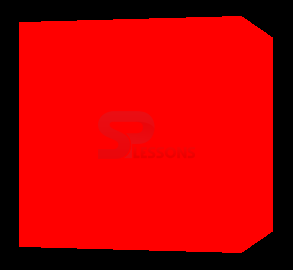
By running the above code in a preferred browser, user will get the output as shown below.
 key Points
- User need give the render value.
- WebGL is the most efficient render compare to other.
- Autographic camera does not display Perspective view.


