 Introduction
This chapter demonstrates about the WebGL Building Blocks, the background of the WebGL and Three.js, also creating the demos by using 3D standards. Following are the concepts covered in this chapter.
- Basic Building Blocks
- Coordinates
 Description
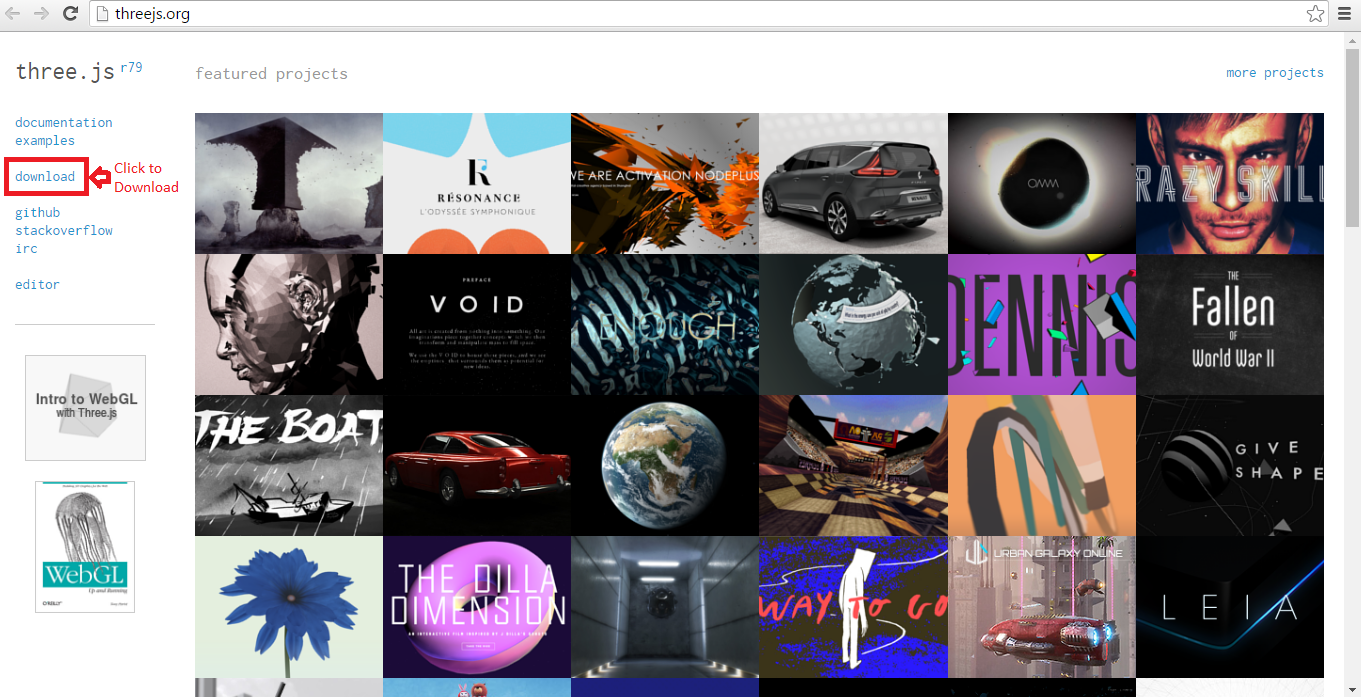
If user know how to use the Basic Building blocks which gives the good foundation to build the projects. In order to explain about the Basic blocks like Hello World style demo which is very useful. In which it will display a red color cube on the screen. The code below demonstrates the Hello World demo. In order to run the programs user need to download the Three.js from the official web site of Three.js then click on the download which provided at top left the image is as shown below.
Once finished downloading process extract into user work space complete files on three.js which is very useful while working with the three.js.
The code below demonstrates the App.js code as shown below.
[c]
var example = (function(){
"use strict";
var scene=new THREE.Scene(),
renderer = window.WebGLRenderingContext ? new THREE.WebGLRenderer() : new THREE.CanvasRenderer(),
light= new THREE.AmbientLight(0xffffff),
camera,
box;
function initScene(){
renderer.setSize( window.innerWidth, window.innerHeight );
document.getElementById("webgl-container").appendChild(renderer.domElement);
scene.add(light);
camera = new THREE.PerspectiveCamera(
35,
window.innerWidth / window.innerHeight,
1,
1000
);
camera.position.z= 100;
scene.add( camera );
box = new THREE.Mesh(
new THREE.BoxGeometry(20,20,20),
new THREE.MeshBasicMaterial({color: 0xFF0000})
);
box.name="box";
scene.add(box);
render();
}
function render(){
renderer.render(scene, camera);
requestAnimationFrame(render);
}
window.onload = initScene;
return {
scene: scene
}
})();
[/c]
The code below demonstrates the HelloWorld.html is as shown below.
[c]
<!DOCTYPE html>
<html>
<head>
<title>WebGL with three.js Fundamentals</title>
</head>
<body>
<div id="webgl-container"></div>
<script src="three.js"></script>
<script src="app.js"></script>
</body>
</html>
[/c]
Result
By running the above code in a preferred browser then user will get the output as shown below.
 Description
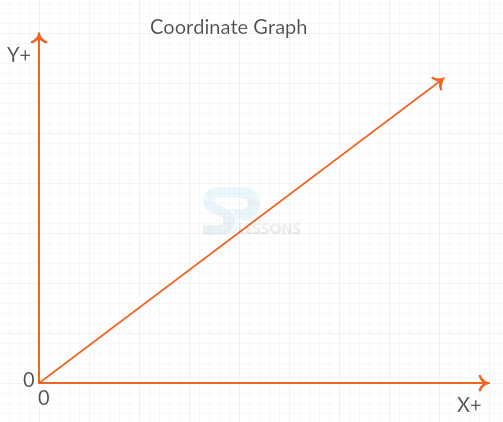
Three.JS uses the Cartesian coordinate system which is invented in around 17th Centuary and named as Rene Descartesand then the Cartesian bit came from Latin version of Rene's last name Cartesias. The simple graph contains the two axis these axis can be referred to the X and Y axis the image below demonstrates the sample graph.
In the above graph which can referred to 0,0 and is also known as origin.
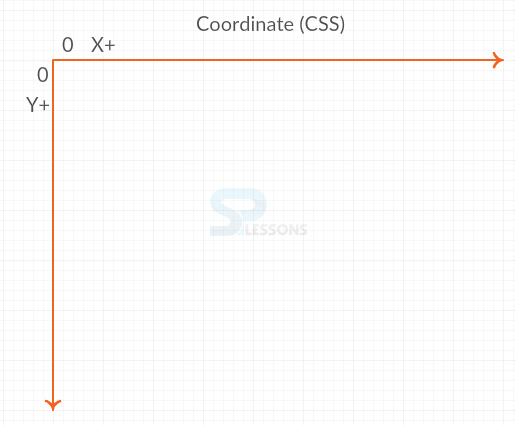
If user working with the CSS then the origin moves to the top left corner as shown in the image below.
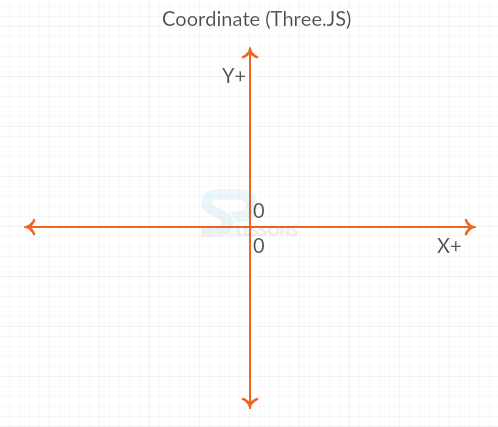
For the Three.JS and WebGL user need to use the normal co ordinate model which contains the x and y axis with origin as shown in below image.
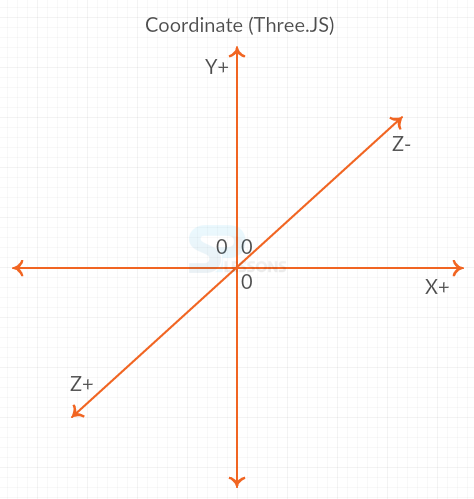
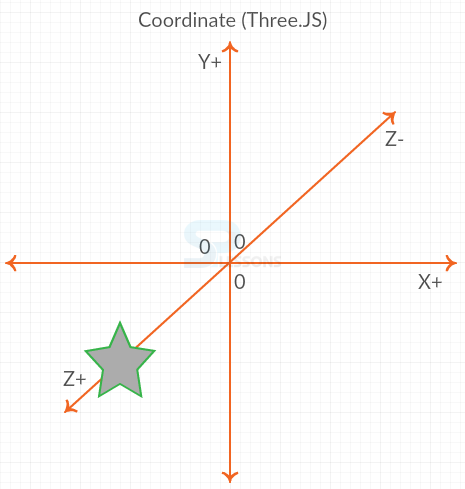
If user working with the 3D user need another axis to represent the object depth position, the third axis is the Z axis. Using these three axis user can refer any position using three numbers of X, y, Z axis the image as shown below.
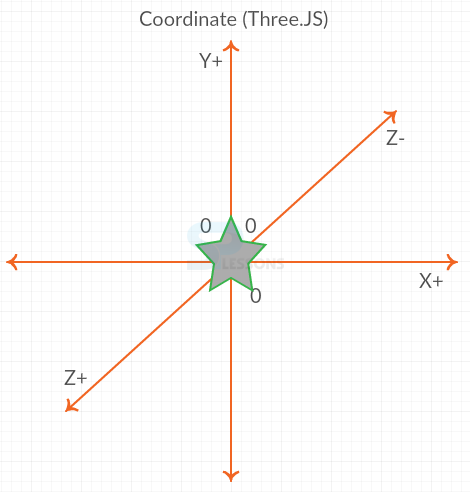
In 3D graph 0, 0, 0, refers to the exact center of the screen or the or the origin. The image is as shown below.
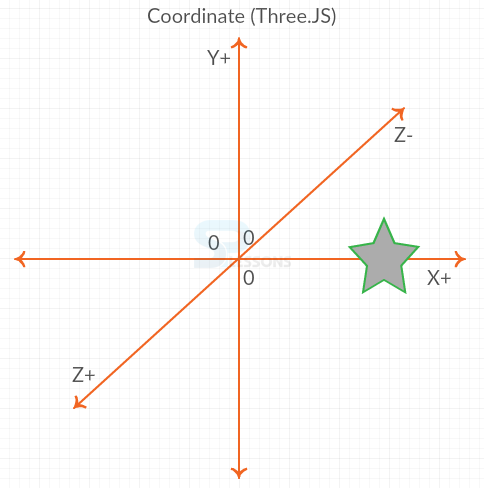
The X+ value such as 50, 0, 0 and the position should be towards right of the origin as shown in below image.
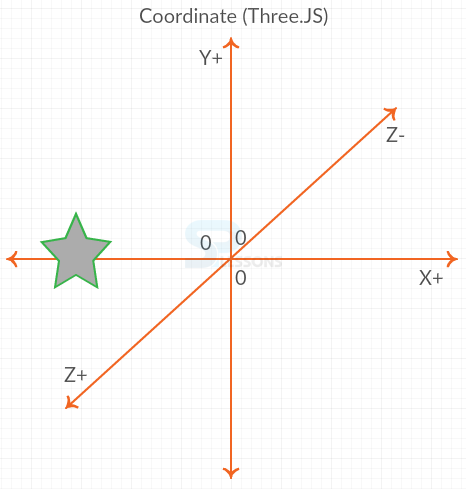
The X- value -50,0,0, then the object will move toward left of the origin as shown in below image.
If the user have the -X and -Y values such as -50, -50, 0 then the object should toward Z+ direction as shown in below image.
 Key Points
- Three.js library file contain every thing about the three.js.
- Hello world demo have the complete basic blocks.
- Object Position depends on the X, Y, Z values.


