 Introduction
This chapter demonstrates about the Ruby installation on Windows, user can easily install the Ruby by using prepackaged installer and following are the concepts covered in this chapter.
- Installation of Ruby
 Description
Downloading and installing Ruby in windows is very easy, the steps below demonstrates the process for downloading and installing Ruby in windows platform.
Step 1
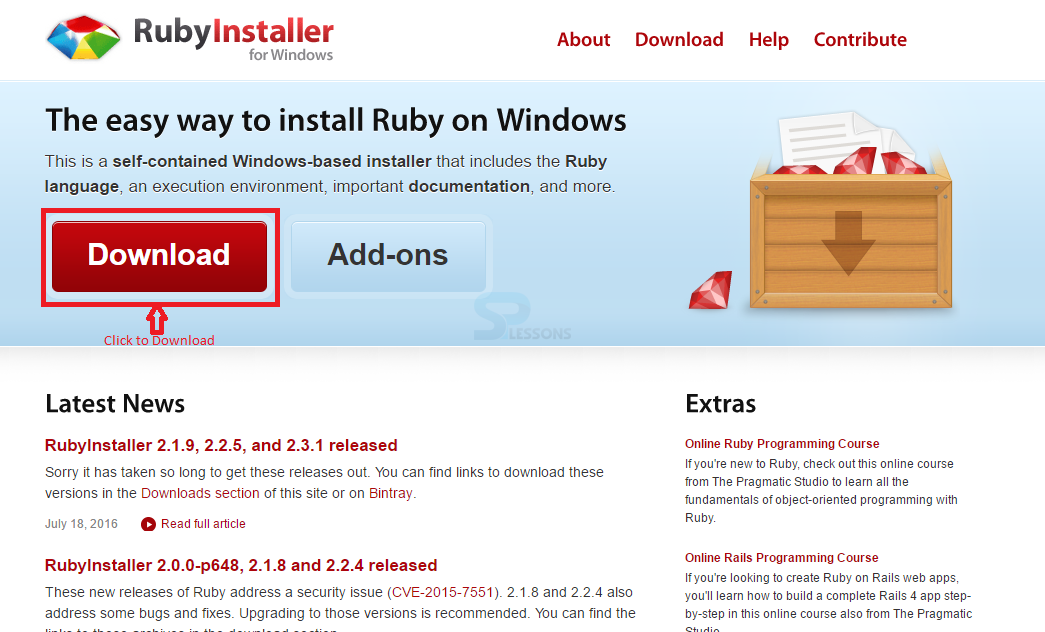
In order to download and install Ruby user need to visit the official page of Ruby and click on the Download button which is indicated in the below image.
Step 2
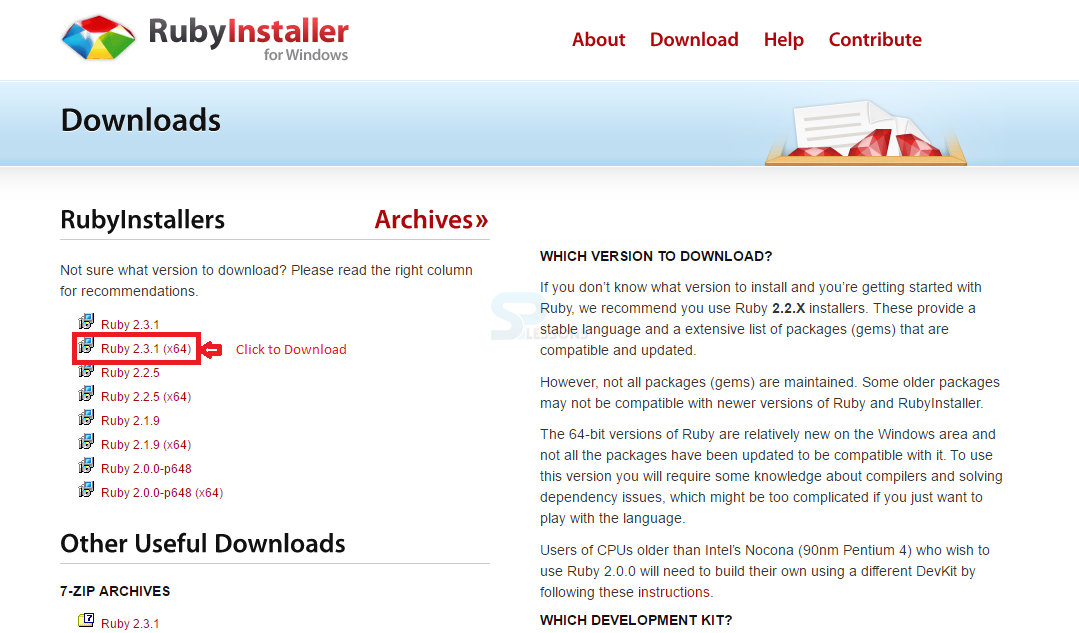
When user click on the download button the page will redirect to the Downloads page providing setup files of several versions as shown in the image below, select the latest and appropriate version file from the list.
Step 3
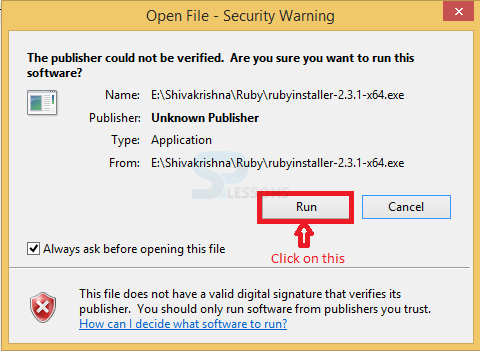
Clicking on the selected version will start the downloading, Once done downloading user needs to extract and run the file as shown in below image.
Step 4
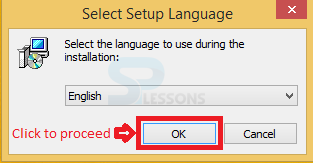
Now a window named as Select Setup Language appears, select the appropriate language and click on OK to proceed the installation process as shown in below image.
Step 5
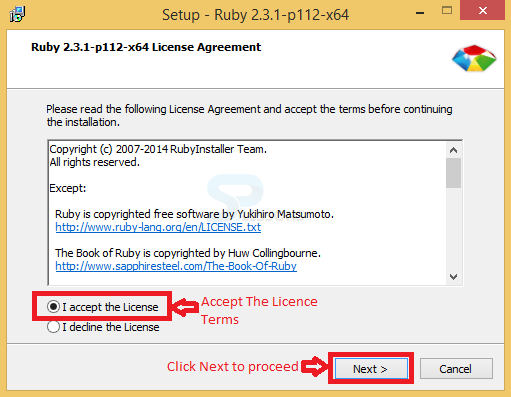
Now Ruby Licence Agreement window appears, click on the checkbox to accept the License agreement then click on Next to proceed the installation setup as shown in below image.
Step 6
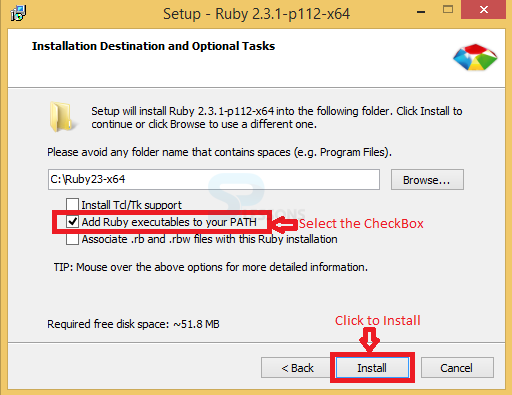
Now Installation Destination and Optional Tasks window appears, select the Installation destination and click on check box to get appropriate task then click on the Install button to proceed as shown in below image.
Step 7
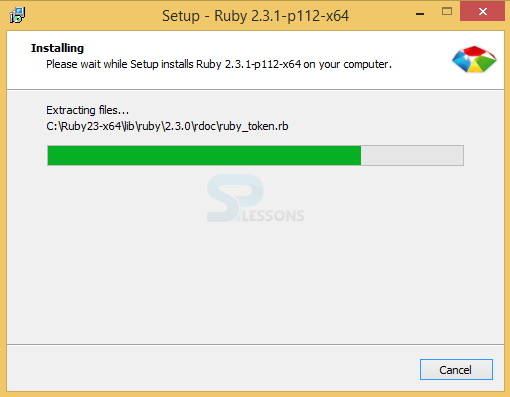
Now a window get appear with progress bar as shown in below image.
Step 8
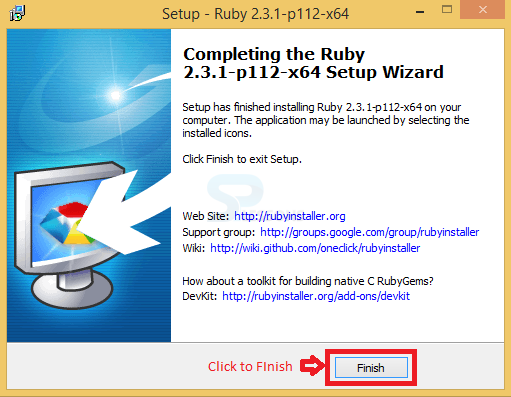
Now finally a window Completing the Ruby Setup Wizard appears, click on Finish button to complete the installation process which is indicated in the below image.
Step 9
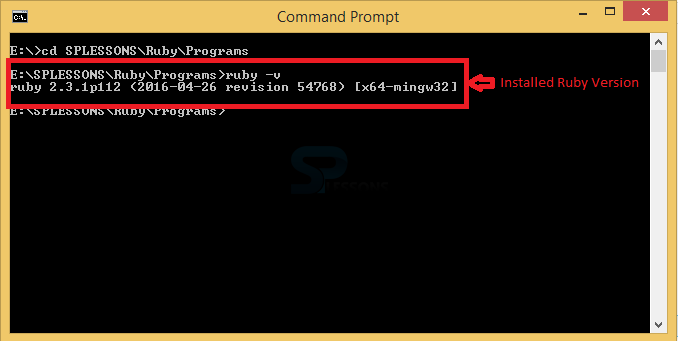
In order to check whether Ruby installed successfully or not open the command prompt and then type -v and click enter to know the ruby versions as shown in the image below.
 Key Point
- Install Ruby - User will get the setup file in Ruby Official Website.
- Install Ruby - User need to select the installation destination.
- Install Ruby - User need to accept License Agreement.


