Oracle 12C Installation can be preformed on Windows 8 64 bit OS, download the set-up files fromOracle.com.
The following steps describe the process of Oracle 12C Installation in Windows Operating System.
Step - 1
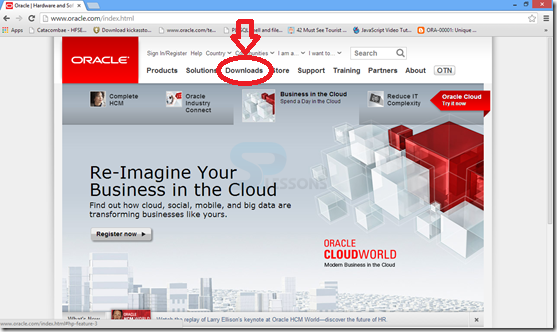
Open Oracle.com on the browser and click on Download button.
Step - 2
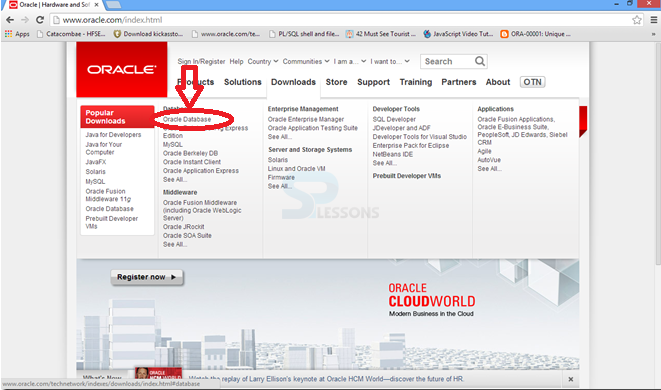
Click on Downloads, and select Oracle Database.
Step - 3
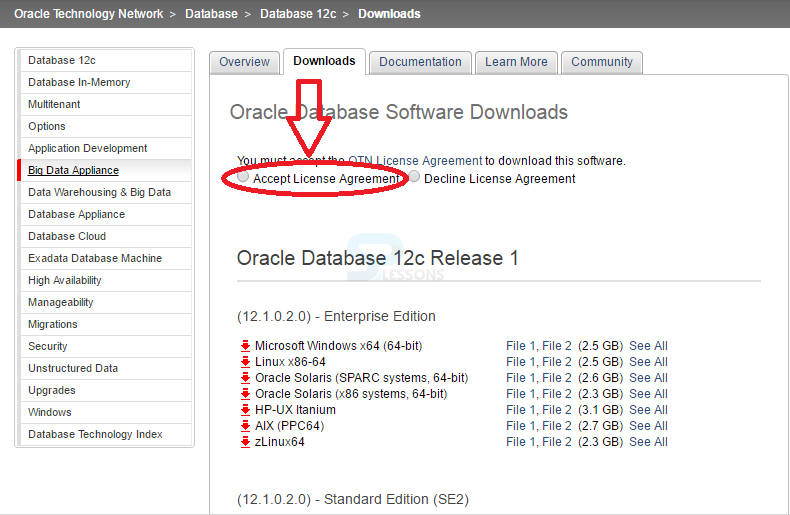
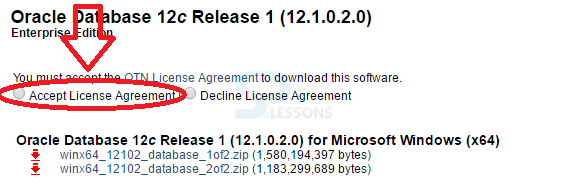
Select the check box Accept the licence agreement.
Step - 4
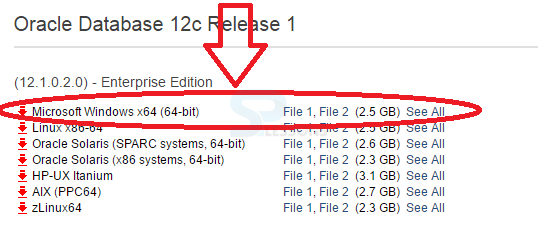
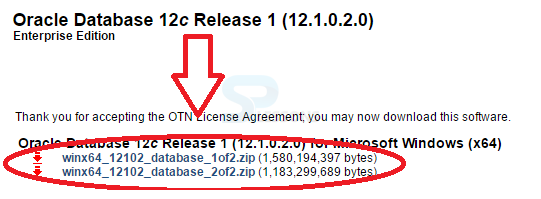
In enterprise edition, download Microsoft window x64 (64-bits)File-1 and File-2.
Step - 5
Select the check box Accept the licence agreement.
Step - 6
Download both the Oracle database zip-files.
Step -7
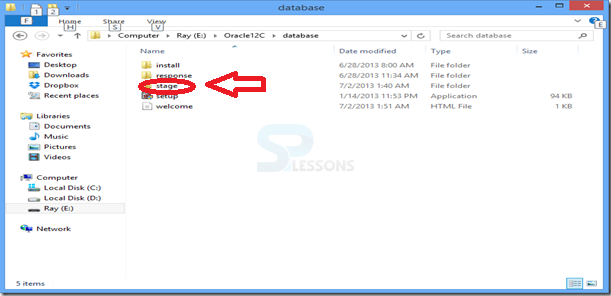
Extract the zip files in folders.
Step - 8
Click on Setup button and Run as administrator.
Step-9
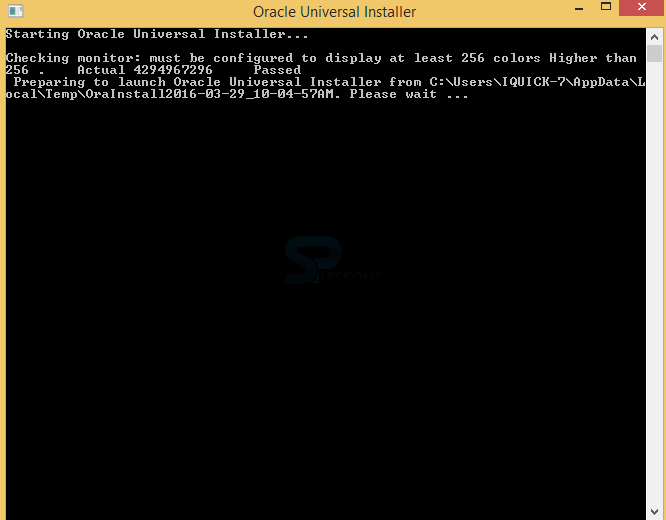
The Setup file will run like below.
Step-10
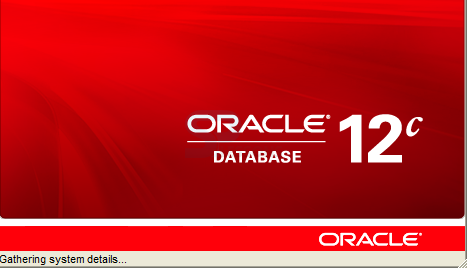
Oracle 12C Installation process is gathering the system details.
Step - 11
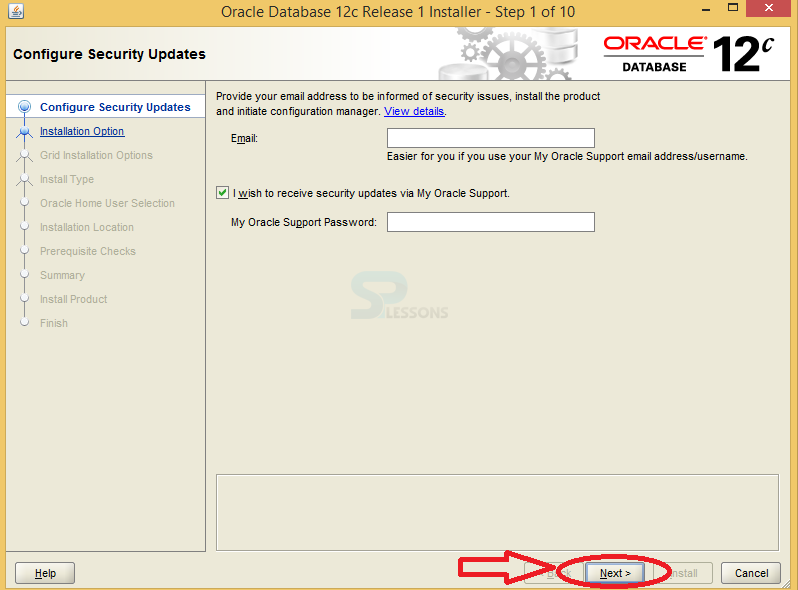
Uncheck the box "I wish to receive security updates via My Oracle support" if not needed and click on Next button.
Step - 12
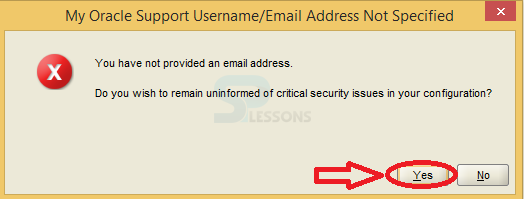
Click on Yes button.
Step - 13
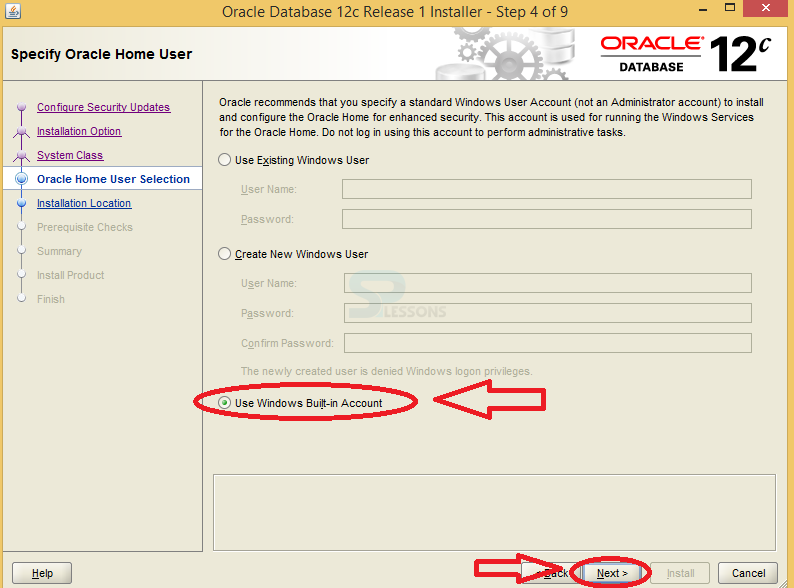
Select the check box, UseWindows Built-in Account. And click on Next button.
Step - 14
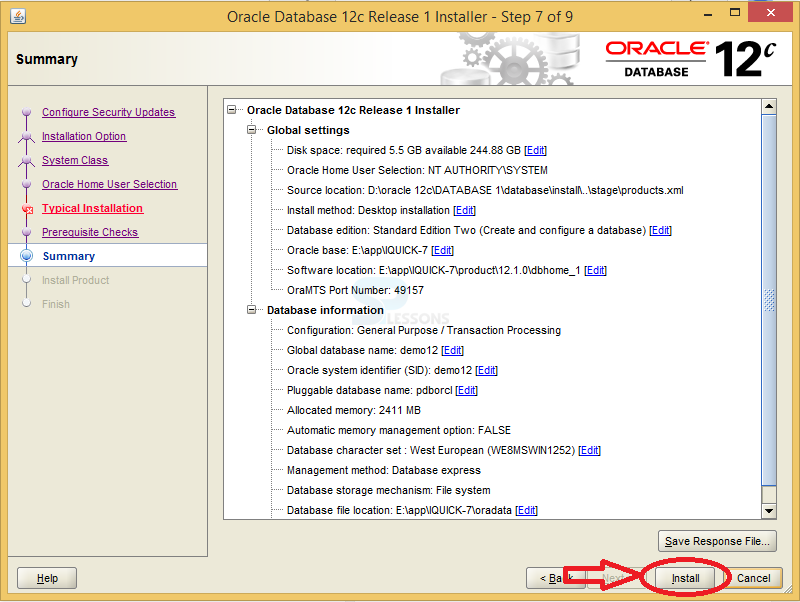
Click on Install button.
Step - 15
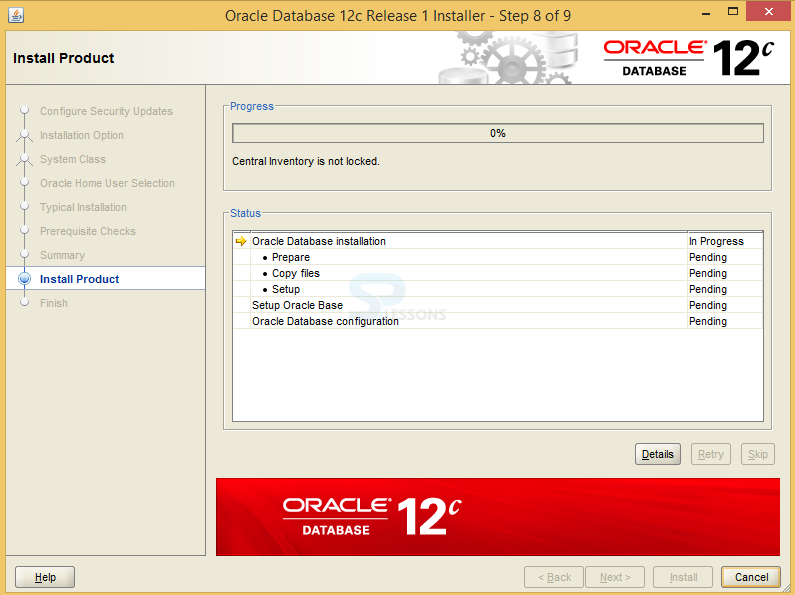
Oracle Database is Installing the products.
Step -16
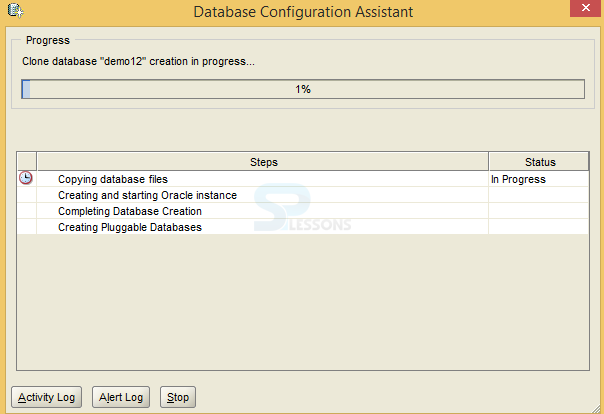
Configuration of the Database assistants can be done as below.
Step - 17
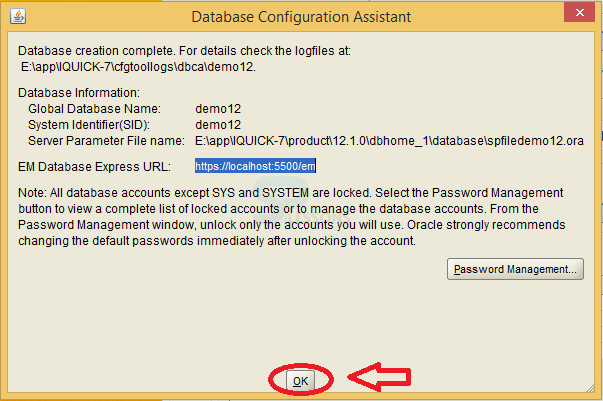
Click on OK button for password management.
Step -18
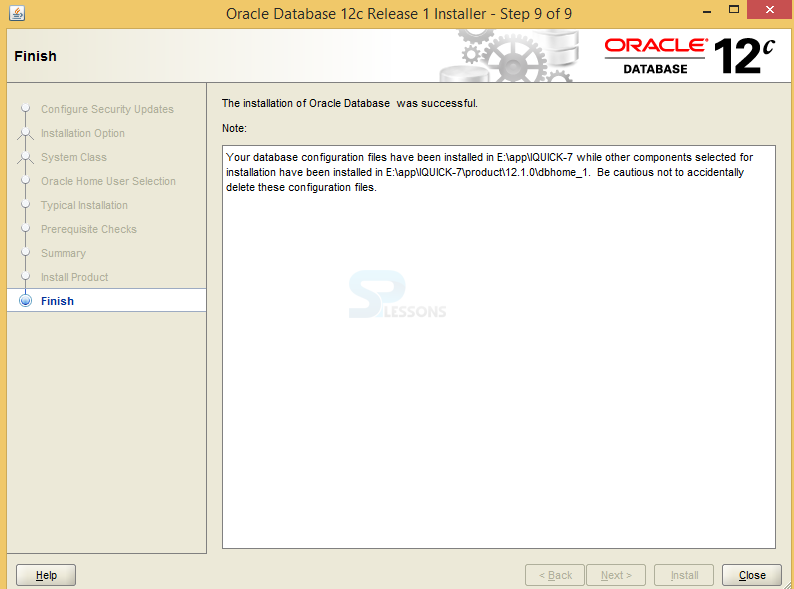
The installation of Oracle Database is successfully completed.
Step - 19
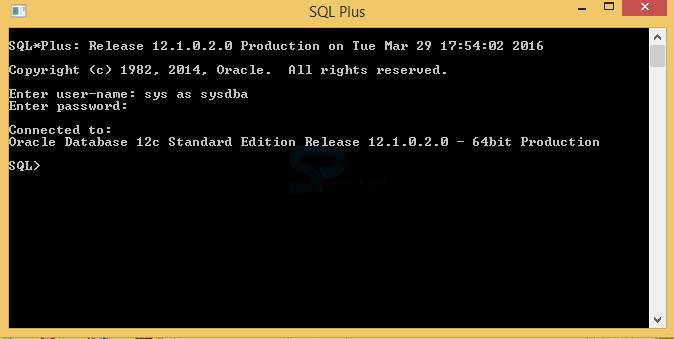
To check whether installation is completed or not,goto SQL Plus Command line and enter user name and password which was given during the installation process.
Summary
Key Points
Oracle 12C Installation - Is an Relational Database Management System product.
Supports - Windows-7,windows-8,window server 2008 R2 and windows server 2012.
Oracle 12c - Supports for windows 64 bits environment and doesn't support in 32 bits operating system.
Programming
Tips
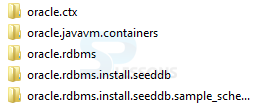
Make sure to copy the below components of database_2 to database_1.