 Description
This chapter Node.js installation demonstrate the procedure for installing Node on Windows. Node.js have numerous ways to install on Windows and Linux. Node.js is nothing but a node.exe file and is easy to install with the help of latest installer available on official website nodejs.org. Following are the concepts covered.
- Node.js Installation on Windows
- Text Editors
 Description
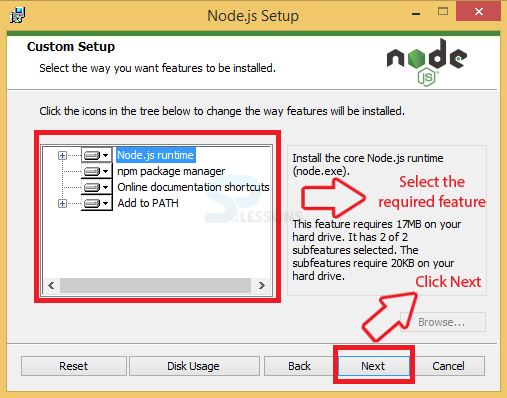
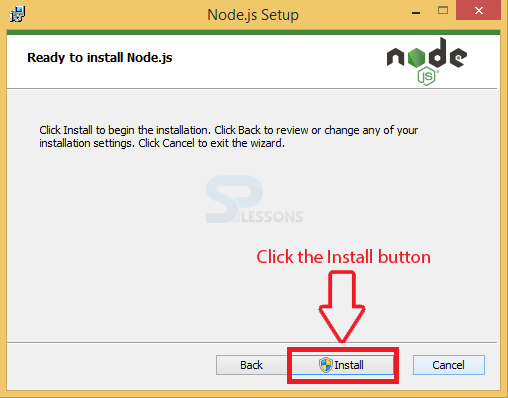
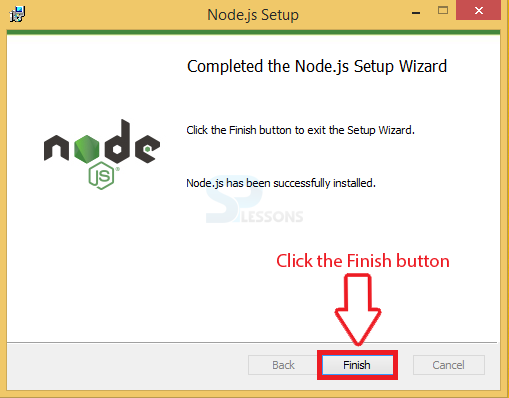
Single Threaded Event Loop architecture is used by Node.js Platform in order to handle huge number of simultaneous client connections proficiently. Follow the steps below for Node.js Installation on Windows.
 Step 1
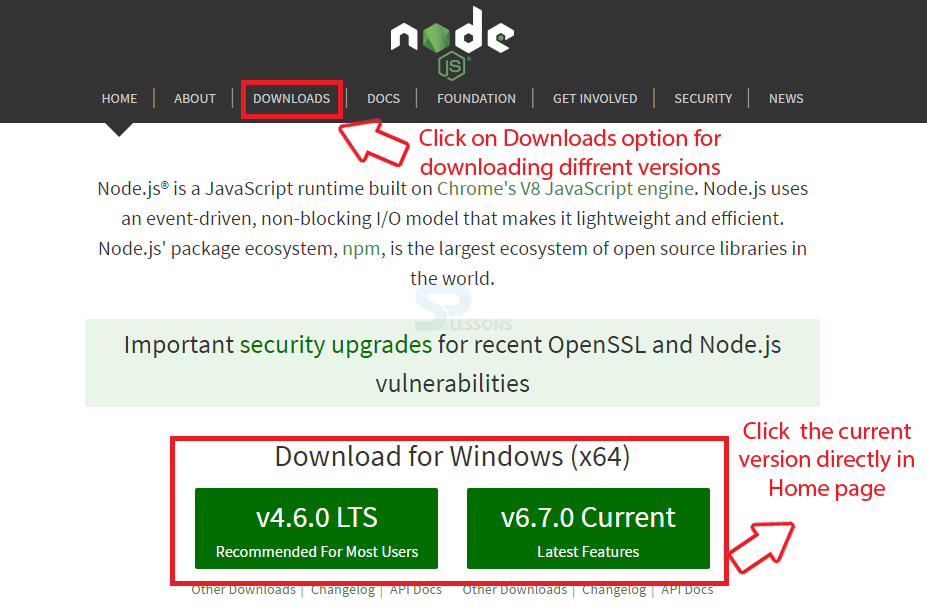
Download the Node.js latest version from the nodejs.org official website, choose the versions supported by PC either by selecting directly in home page or by clicking the Downloads Option as shown in the image below.
 Step 2
 Step 3
 Step 4
 Step 5
 Step 6
 Step 7
 Step 8
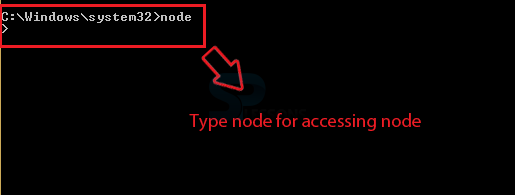
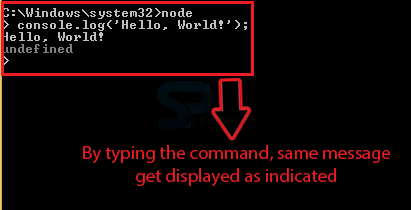
Check whether Node.js installed properly, in order to check open CMD (Command Prompt) and type node by which node get accessed as shown in the image below.
Now test whether everything working properly by typing the following command.
[c]Console.log(‘Hello, World!’);[/c]
If everything setup perfectly the same message get displayed in the terminal as shown in the image below, if not displayed check the setting properly.
 Description
Text editors are important to work with Node.js they are used to type the programs, the files created by using these text editors are known as source files because they contain the source code and are named with the .js extension.
There are many text editors to work like Notepad, Notepad++, Intellij IDEA, Sublime text, WebStrom.
 Example
The example demonstrates a simple node server that outputs a message or greeting using a text editor.
[c]
var http = require('http');
var server = http.createServer(function (request, response) {
response.writeHead(200, {"Content-Type": "text/plain"});
response.end("SPLessons stands for simple programing languages \n");
});
// IP defaults to 127.0.0.1, listen on port 8080
server.listen(8080);
//give a message on terminal
console.log("Server running at http://127.0.0.1:8080/");
[/c]
 Key Points
- There are several ways to get “Node.js”. There are installers and binaries available for downloading at Nodejs.org.
- The node.js interpreter interprets and executes the javaScript code Written in source file.
- Huge number of text editors are available in the market for programming.


