


 Introduction
This Chapter demonstrates about the HTTP2 Tools which are supported by the HTTP/2. Which shows the brief description about the Basic Tools following are the concepts covered in this chapter.
- CURL
- Chrome Tools
- Wireshark
Description
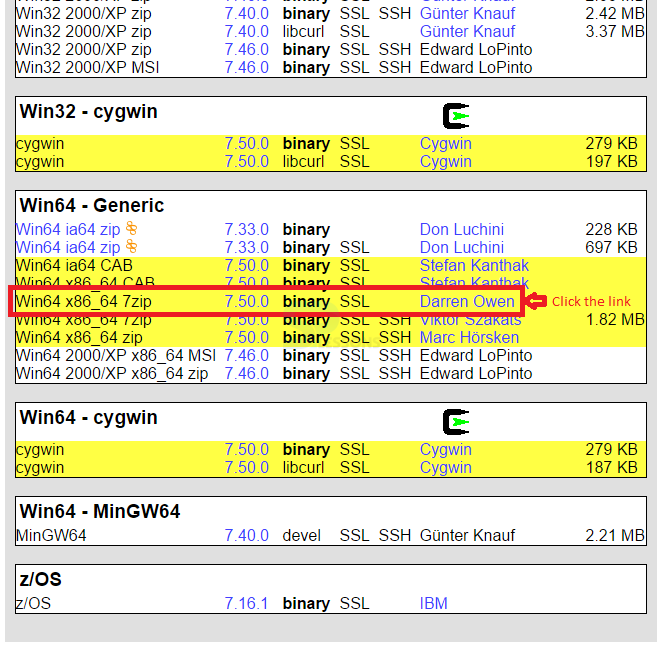
cURL application allows to work on any web sites which can be supported by the HTTP/2. The version 7.33+ have HTTP/2 Otherwise user can also use the command line to support the HTTP/2. In order to use the cURL user need to download and install the cURL as shown in the below steps.
Step 1
In order to download and install the cURL user need to visit the official page of the cURL and select the appropriate file to download as shown in the image below.
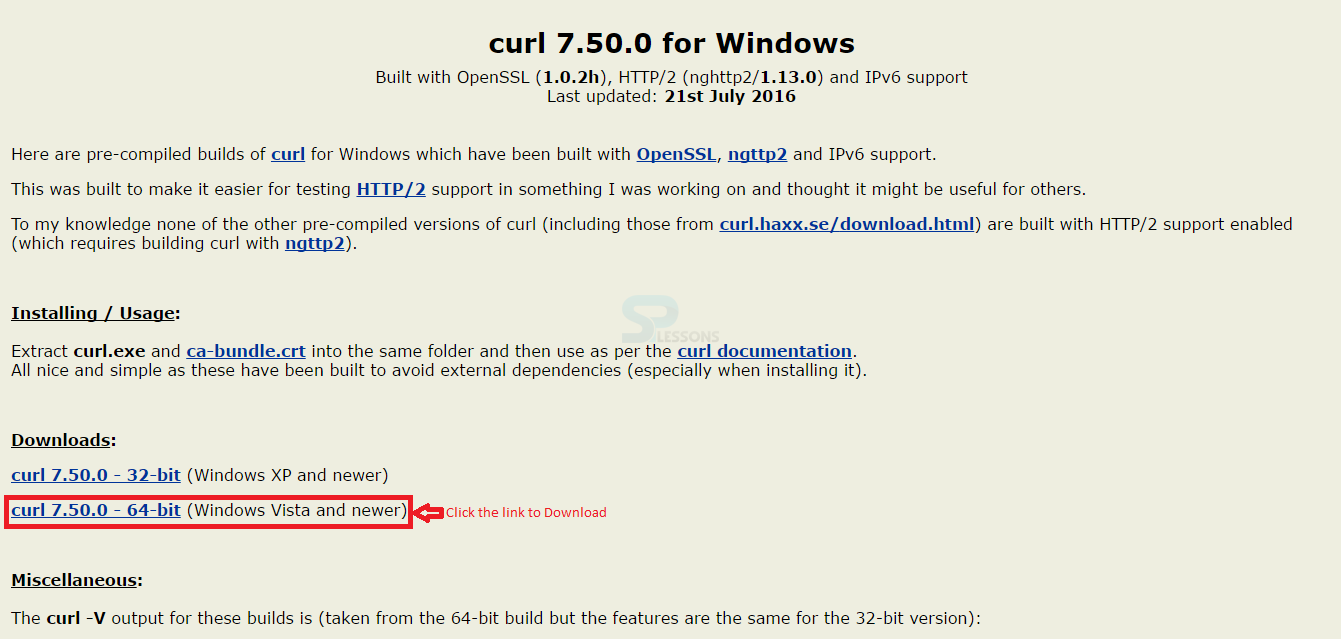
Step 2
The page will redirect to the another page which contain some system information, by clicking on appropriate cURL version will start the download as shown in below image.
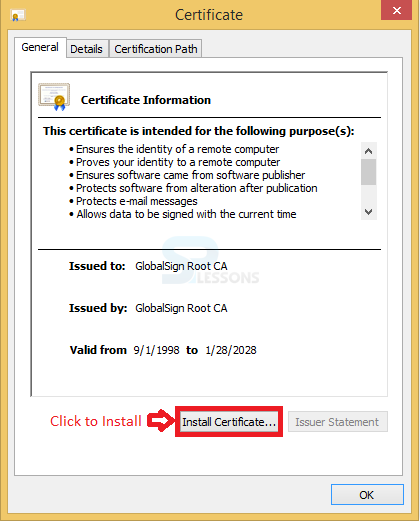
Step 3
Now extract the downloaded file and run the file, a window will appear named as Certificate then click on the Install Certificate to proceed the download as shown in below image.
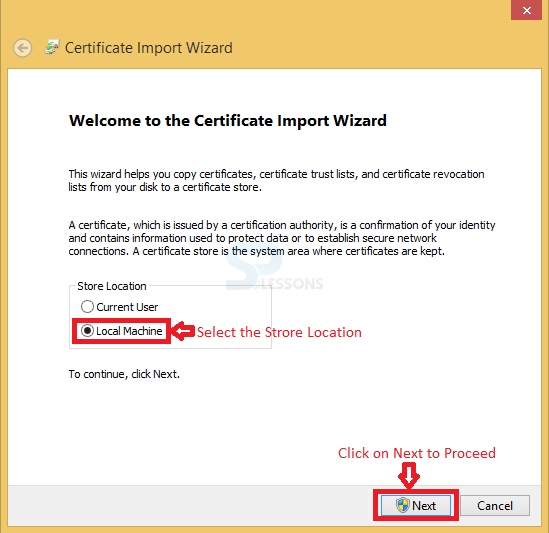
Step 4
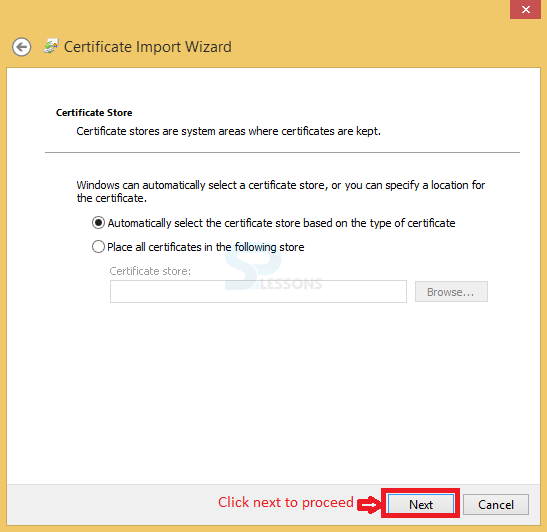
Now a window get appear named as Certificate import Wizard which ask the store location select the appropriate location and proceed by clicking the Next button.
 Now, the window get redirected to other level where user need to select the automatic certificate store as shown in the image below.
Step 5
Now user will get a final window named as Certification Import Wizard which display some information about the certificate store selected and click on Finish button to complete the Installation Process.
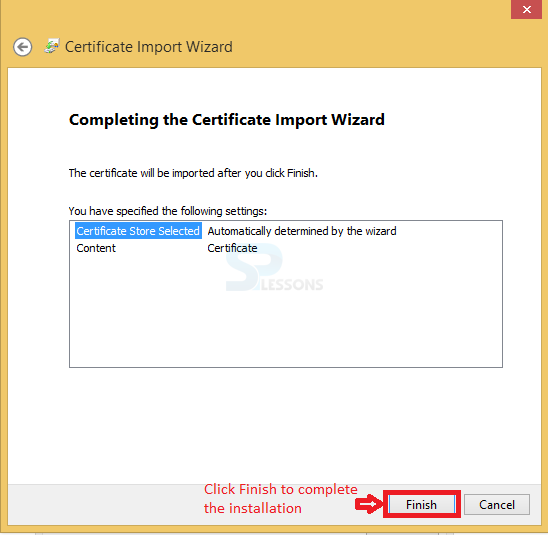 After completing the installation process user need to set the path in Environment Variable in order to use the cURL application.
Description
Chrome tools are used to provide the information about which protocol is being used when accessing a web site. In order to use the Chrome Tools user need to download the application which is already present in the chrome browser. Protocol information is available under the network tab follow the steps below to know the chrome tools.
Step 1
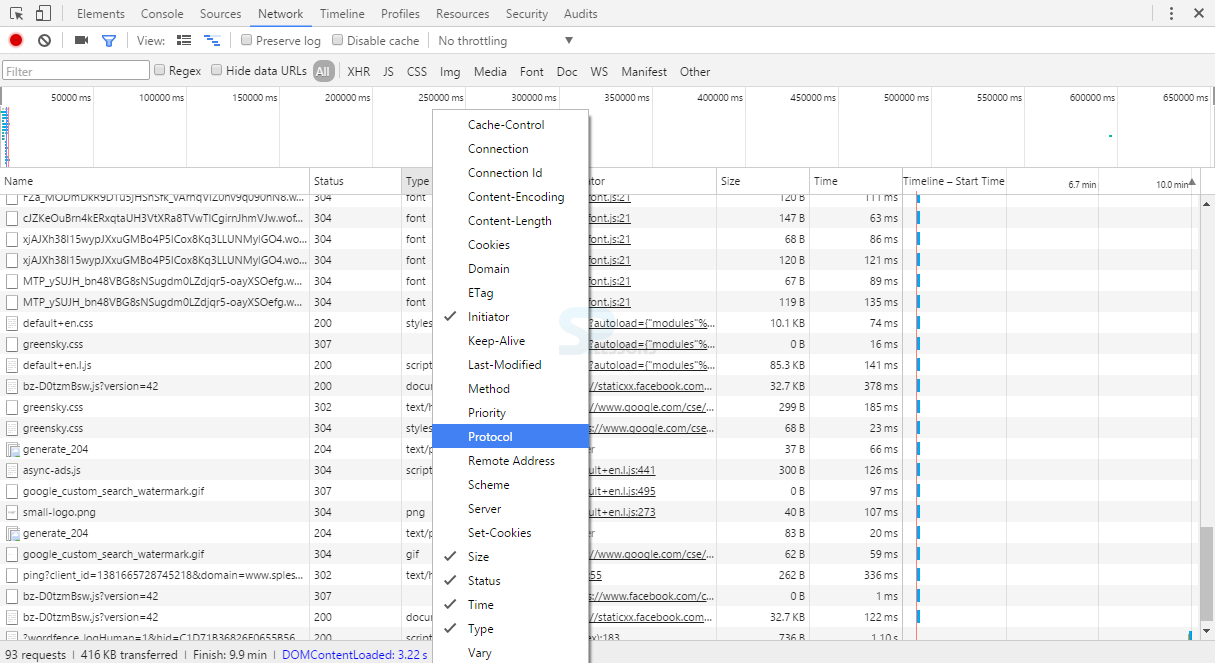
In order to know which protocol is used for the web site user need to Right click on the any web page - > choose Inspect Element -> Go to the Network tab -> Right click on the columns then user will get a bar in that, select the Protocol as shown in below image.
Step 2
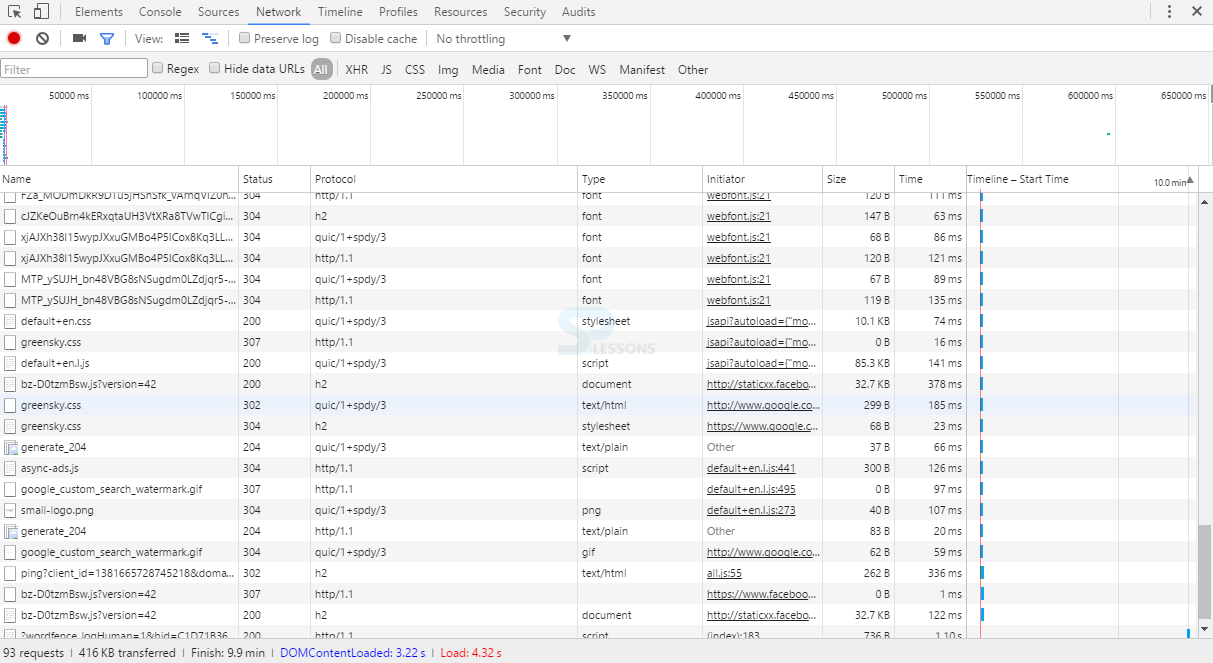
Now user will get the table with complete protocol information in the extra column here HTTP/2 protocol shown as H2 as shown in below image.
Step 3
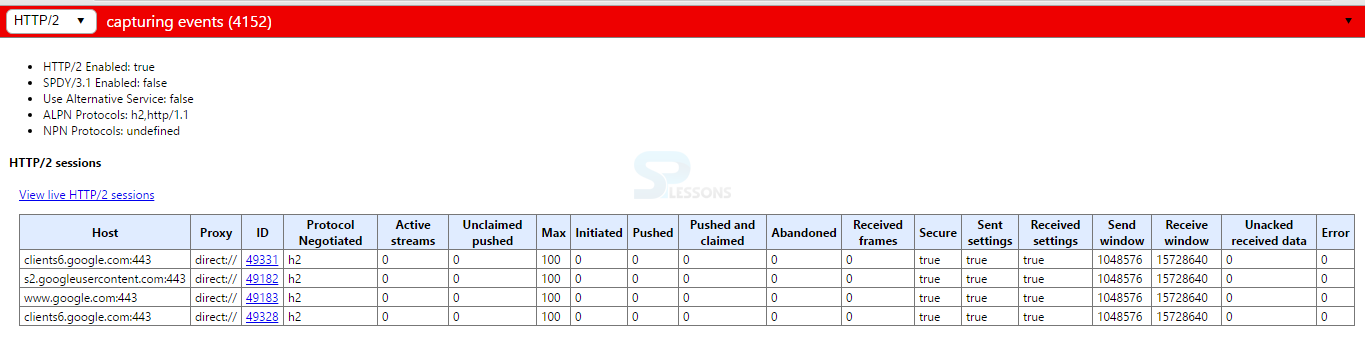
Chrome tools also provide ability to see the live HTTP/2 sessions In order to do this in the URL type chrome://net-internals/#http2 select HTTP/2 from the drop down box then user will get the live HTTP/2 sessions as shown in the below image.
Step 4
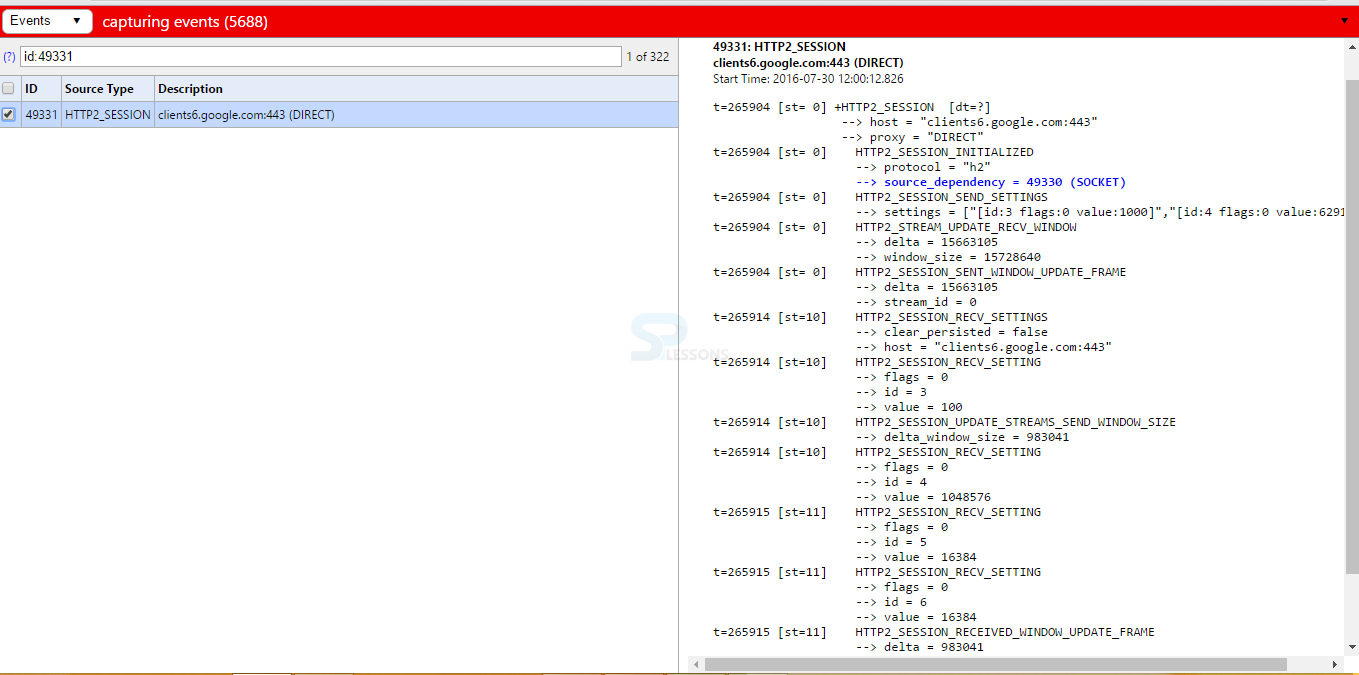
Now by selecting the specific event user will get complete information about the HTTP/2 session event as shown in below image.
Description
Wireshrak is the widely used packet analyzer which is basically monitoring anything and everything goes on the network and which is also used to examine the HTTP/2 exchanges. In order to use the wireshrak user need to download the wireshark follow the below steps to download the wire shark.
Step 1
In order to download the wireshsrak user need to visit the official page of the Wireshark then user will get a window click on the Download to get the setup file as shown in below image.

Step 2
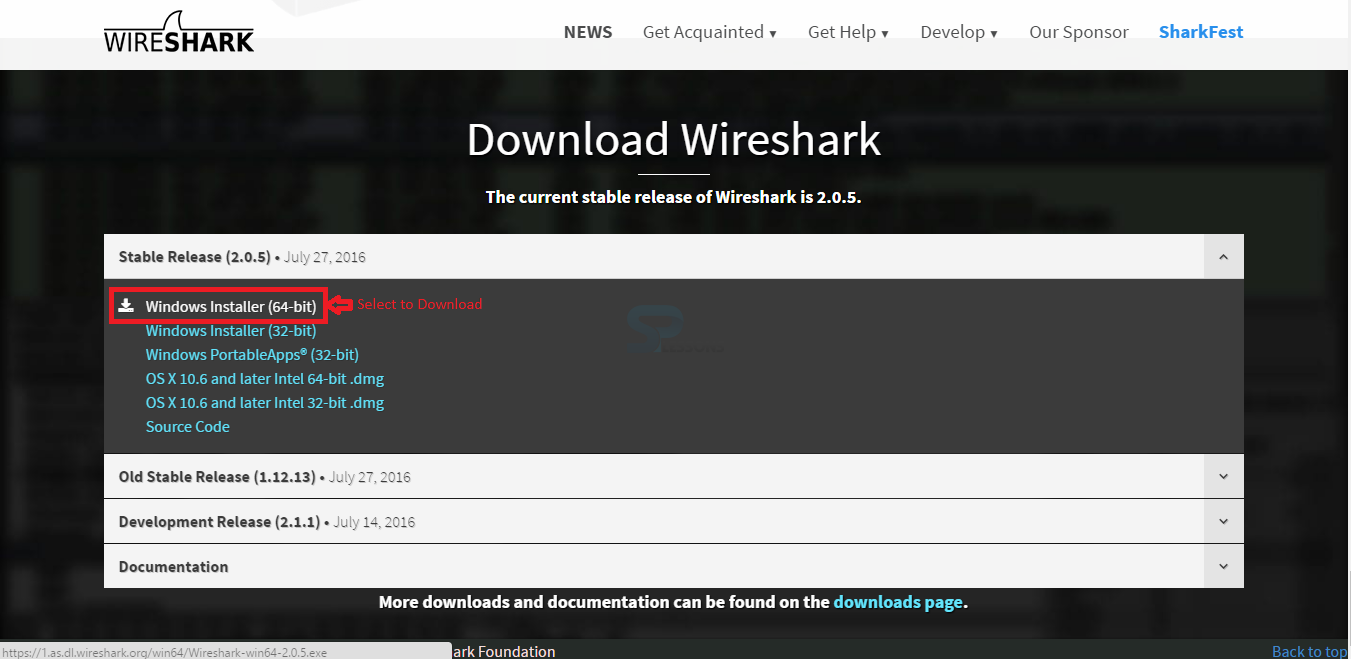
When user clicked on the Download, the page will redirect to the another page which contains the some windows information then click on the appropriate one to download the file is as shown in below image.
Step 3
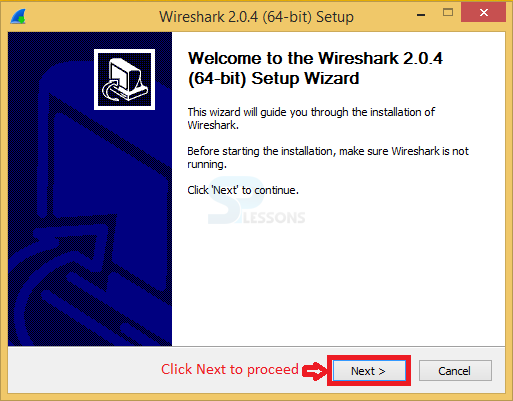
Now the user will run the set up file which shows a window with named as welcome to wireshark then proceed by clicking the next button is as shown in below image.
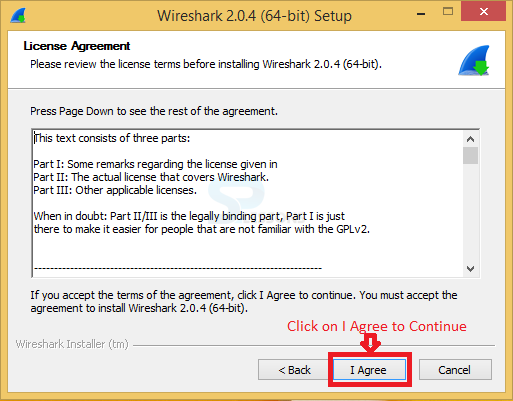
Step 4
Now user will get another window named as the Licence agreement then click on I Agree button to proceed is as shown in the below image.
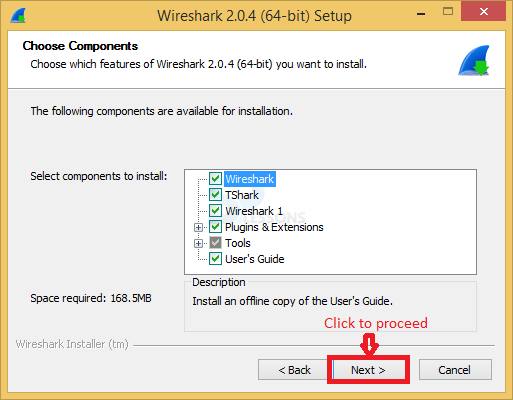
Step 5
Now user will get the another window named as Choose components then choose the appropriate components and proceed by clicking the Next Button is as shown in the below image.
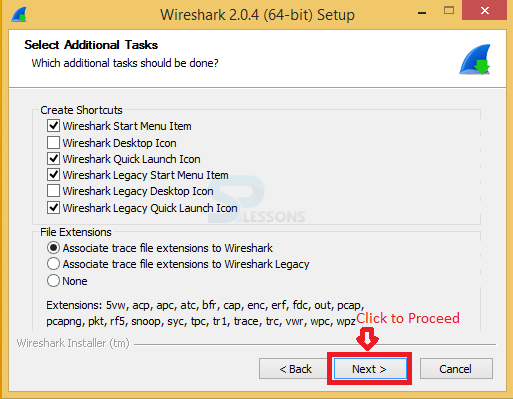
Step 6
Now user will get another window named as Select Additional Tasks in which some tasks are already selected and proceed by clicking the Next button as shown in the below image.
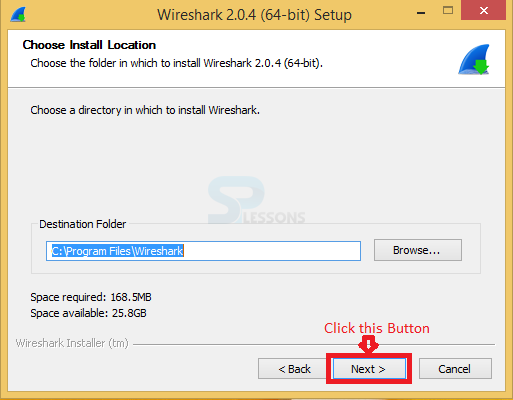
Step 7
When click on the next button the window get explored named as Choose Install location select the appropriate location for the setup and proceed by clicking the next button.
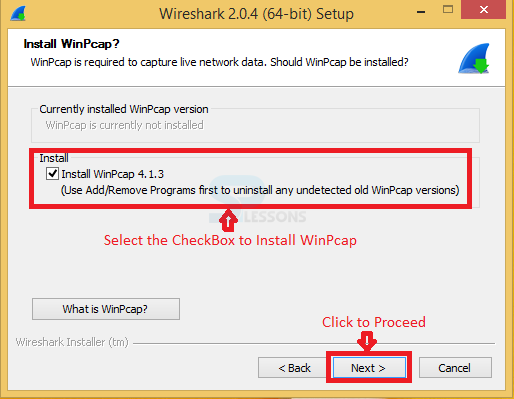
Step 8
Now the window get explored which asking user to Install WinPcap if user clicked on the checkbox then user will get the WinPcap as shown in the below image.
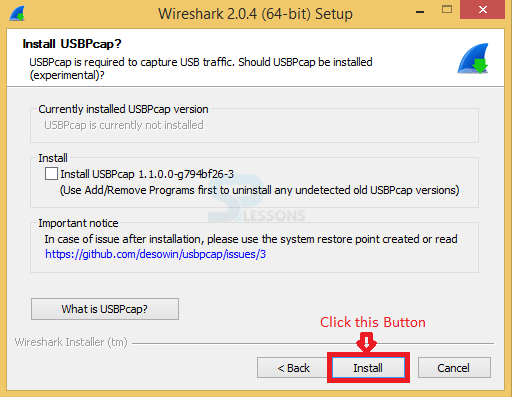
Step 9
Now a window get explored with asking the Install IUSBPcap if user need to install click on the check box other wise proceed by clicking the Install button as shown in the below image.
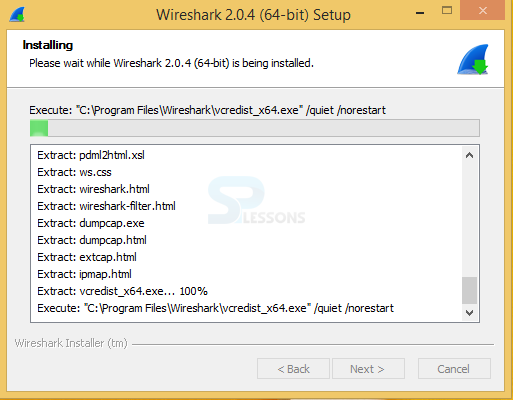
Step 10
Now a window get explored which shows the installation progress is a shown in the below image.
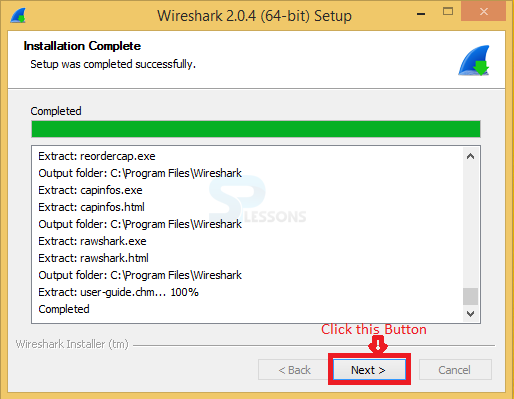
Step 12
Now another window get explored with Installation complete successfully message and then proceed by clicking the Next button is as shown in below image.
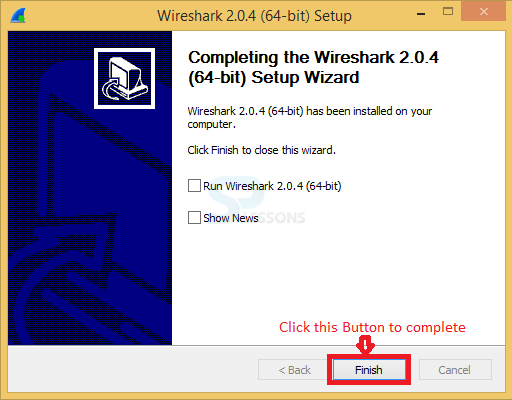
Step 13
Now a window get explored named as Completing the Wireshark then click on the Finish button to complete the installation process is as shown in below image.
Key Points
- Wireshrak is mostly used application for the network.
- Chrome tools user will get the protocol information.
- WinPcap is mandatory to run the Wirehsrak.