By using the float property user can flow the elements out of the document flow. The positioning property is used take any element from the document flow and place any where with in the document. If once the element placed with the positioned property then which cannot interact with the another elements which are around it and other elements are not over flow or to separate from the other elements margins are arranged around it or wrap around it.
Types of positioning
The position of the element is set by using the CSS Position property. The table below demonstrates the values of the position property as shown below.
| Property |
Description |
| static |
Which is the default value and element should be left in normal position. |
| relative |
In which element is positioned in its normal position in the flow od socument and the other elements are un affected. |
| absolute |
In which the elements with child elements re completely removed from flow of the document and placed at specified offset points. Which is caliculated by positioned of the parent or the main document. |
| fixed |
Which is same as absolute but in which element positioned accordingg to the broswsers view port. |
Containing block
If the Web Document is made up with the nested blocks i.e inside one another then the position of the element is defined by its containing block.
- absolute
In which position is absolute then the containing block should be nearest to the parent positioned or else in the main web page.
- fixed
In which position is fixed the the containing block is the browsers view port. Its position is fixed with respect to the browser window.
- relative
In which position is relative the containing block is parent element.
Offset values
The Offset values for an element according to its containing block can be set to position is precisely with in the document. These values are applicable if the position property set as absolute, fixed or relative only and the values for these property is positive or negative.
| Property |
Description |
Values |
| top |
Offsets position of the top edge of an absolute positioned element. |
length (px, em, cm), percentage(%), auto |
| left |
Offsets position of the left edge of an absolute positioned element. |
length (px, em, cm), percentage(%), auto |
| bottom |
Offsets position of the bottom edge of an absolute positioned element. |
length (px, em, cm), percentage(%), auto |
| right |
Offsets position of the right edge of an absolute positioned element. |
length (px, em, cm), percentage(%), auto |
The code below demonstrates the CSS Offset top, left, right, bottom as shown.
[html]
<!DOCTYPE HTML>
<html>
<head>
<style>
img{ border:4px ridge #ccc;
position:absolute;/* for value as static, offset will not be applied */
top:100px; /* the element is positioned at
100px below the top of containing block*/
left:100px; /*the element is positioned at
100px to the right containing block */
}
</style>
</head>
<body>
<img src="splesson.png" alt="splessons"/>
</body>
</html>
[/html]
Result
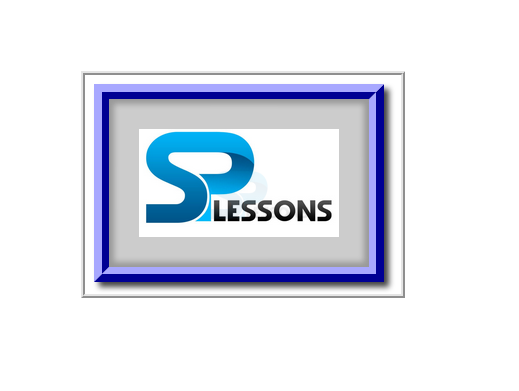
By running the above code in a preferred browser user can get the following output as shown in below image.
Static
Static is the default value. In which position is set as
static remains normal flow of the document. The values for the offset top, bottom, left, right which are can not be applied to an element with
position set as static. The code below demonstrates the CSS position static as shown below.
[html]
<!DOCTYPE HTML>
<html>
<head>
<style>
body{font-family:Verdana; color:#666;}
img{ border:4px ridge #ccc;
position:static;
/*offset values will have no effect for static value */
}
</style>
</head>
<body>
<img src="splesson.png" alt="splesson"/>
<p>SPLESSONS mission is to enhance our knowledge of programming by presenting several different articles to the viewers and by participating in knowledge enriching discussions on the website.
</p>
<p>SPLessons stands for Simple Programming Lessons and was started with a motive to present programming codes and to help the developers all around the globe with different queries in different Programming Languages.
</p>
</body>
</html>
[/html]
Result
By running the above code in a preferred browser user can get the following output as shown in below image.
Relative
The element position set as relative then position it self at a position had it been left alone i.e which removes the effects of surrounding elements. Offset values can be applied to the elements but re positioning will be based on the position in the normal flow of the document the code below demonstrates the CSS relative position as shown.
[html]
<!DOCTYPE HTML>
<html>
<head>
<style>
body{font-family:Verdana; color:#666;}
img{ border:4px ridge #ccc;
position:relative; /* relative positioning */
top:200px; /* the element is positioned at
200px below the top of containing block*/
left:10px; /*the element is positioned at
10px to the right containing block */
}
</style>
</head>
<body>
<p>SPLESSONS mission is to enhance our knowledge of programming by presenting several different articles to the viewers and by participating in knowledge enriching discussions on the website.
</p>
<p>SPLessons stands for Simple Programming Lessons <img src="splesson.png" alt="splessons"/>
It was started with a motive to present programming codes and to help the developers all around the globe with different queries in different Programming Languages.
</p>
</body>
</html>
[/html]
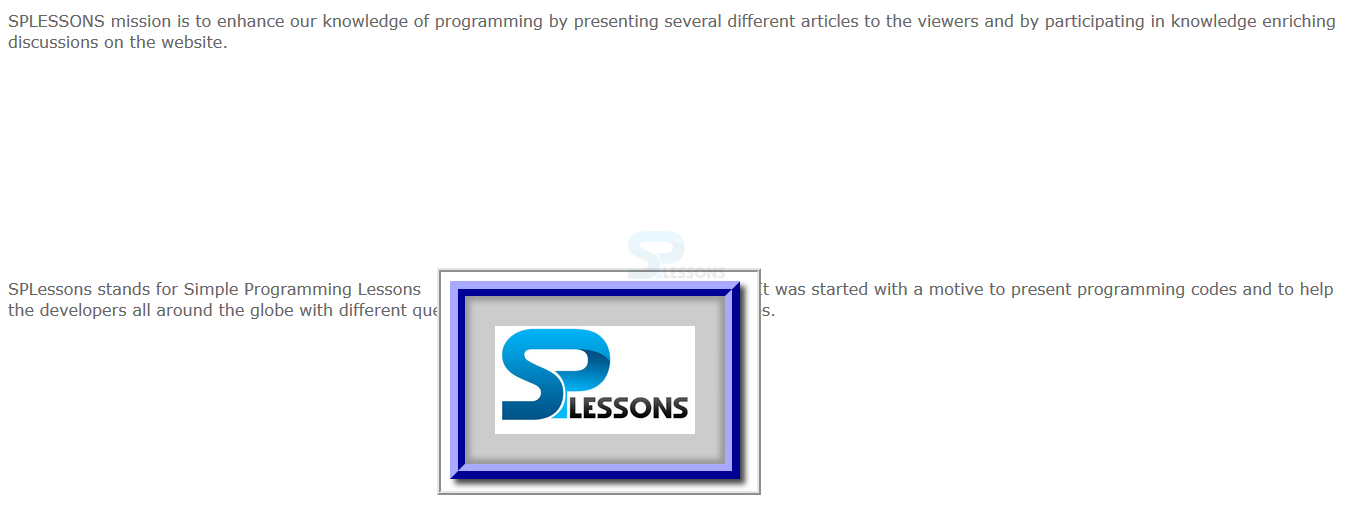
Result
By running the above code in a preferred browser user can get the following output as shown in below image.
Fixed
The element position property is set as fixed then it occupy a fixed position relative to the browsers viewport. Which not depends on the page scrolled upwards or down wards the element is fixed with respect to the browser. In which all values are applicable.
[html]
<!DOCTYPE HTML>
<html>
<head>
<style>
body{font-family:Verdana; color:#666;}
img{ border:4px ridge #ccc;
position:fixed; /* absolute positioning */
top:100px; /* the element is positioned at
200px below the top of containing block*/
left:200px; /*the element is positioned at
10px to the right containing block */
}
</style>
</head>
<body>
<p>SPLESSONS mission is to enhance our knowledge of programming by presenting several different articles to the viewers and by participating in knowledge enriching discussions on the website.
</p>
<p>SPLessons stands for Simple Programming Lessons <img src="splesson.png" alt="splessons"/>
It was started with a motive to present programming codes and to help the developers all around the globe with different queries in different Programming Languages.
</p>
<p>SPLESSONS mission is to enhance our knowledge of programming by presenting several different articles to the viewers and by participating in knowledge enriching discussions on the website.
</p>
<p>SPLessons stands for Simple Programming Lessons and was started with a motive to present programming codes and to help the developers all around the globe with different queries in different Programming Languages.
</p>
<p>SPLESSONS mission is to enhance our knowledge of programming by presenting several different articles to the viewers and by participating in knowledge enriching discussions on the website.
</p>
<p>SPLessons stands for Simple Programming Lessons and was started with a motive to present programming codes and to help the developers all around the globe with different queries in different Programming Languages.
</p>
</body>
</html>
[/html]
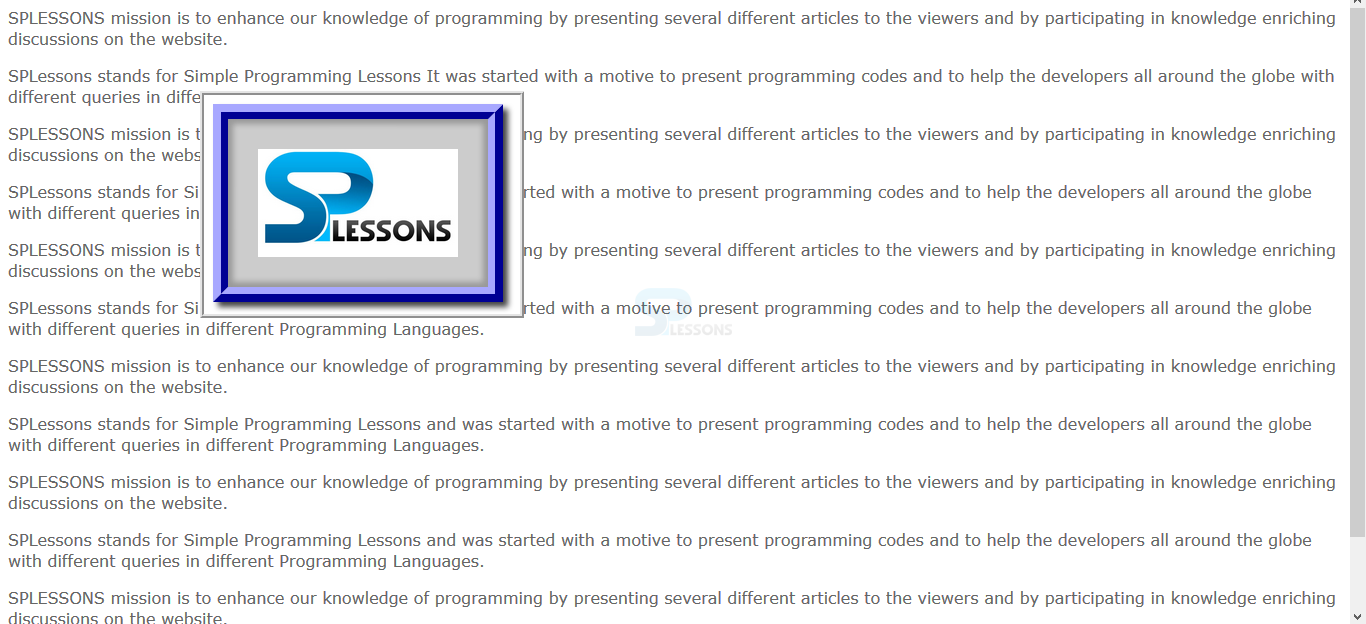
Result
By running the above code in a preferred browser user can get the following output as shown in below image.
Absolute
If the position property set as Absolute, the element is taken from the normal flow and placed at the defined position and surrounding elements are un effected by the position. The code below demonstrates the CSS position absolute as shown below.
[html]
<!DOCTYPE HTML>
<html>
<head>
<style>
body{font-family:Verdana; color:#666;}
img{ border:4px ridge #ccc;
position:absolute; /* absolute positioning */
top:200px; /* the element is positioned at
200px below the top of containing block*/
left:-30px; /*the element is positioned at
-30px to the right containing block
(i.e 30px to the left) */
}
</style>
</head>
<body>
<p>SPLESSONS mission is to enhance our knowledge of programming by presenting several different articles to the viewers and by participating in knowledge enriching discussions on the website.
</p>
<p>SPLessons stands for Simple Programming Lessons <img src="splesson.png" alt="splessons"/>
It was started with a motive to present programming codes and to help the developers all around the globe with different queries in different Programming Languages.
</p>
</body>
</html>
[/html]
Result
By running the above code in a preferred browser user can get the following output as shown in below image.
Z-Index
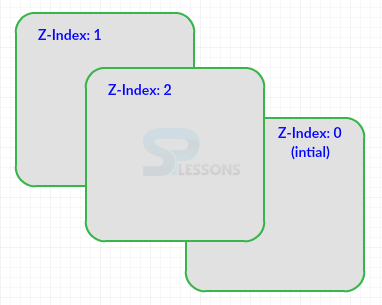
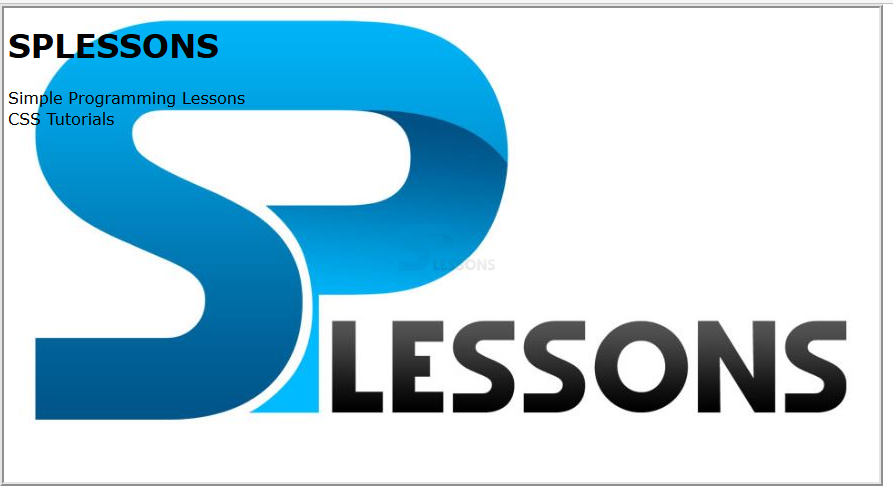
Z-Index is used to arrange front to back order as shown in the below image.
The value for these property number as well as negative value Elements are arranged based on the higher stacking order to lower stacking order.
[html]
<!DOCTYPE HTML>
<html>
<head>
<style>
body{font-family:Verdana; color:#000000;}
img{
position:absolute;
border:4px ridge #ccc;
top:0px;
left:0px;
z-index:-1;
}
</style>
</head>
<body>
<h1>SPLESSONS</h1>
<p>Simple Programming Lessons<br> CSS Tutorials</p>
<img src="splessons.jpg" alt="splessons"/>
</body>
</html>
[/html]
Result
By running the above code in a preferred browser user can get the following output as shown in below image.
 Introduction
  Description
  Key Points


