


 Introduction
This chapter demonstrates about the CSS Forms, web structure or HTML structure on a page permits a client to enter information that is sent to a server for preparing. Structures can take after paper or database frames since web clients round out the structures utilizing check boxes, radio catches, or content fields, following are the different type of fields.
- Styling Input Fields
- Padded Inputs
- Bordered Inputs
- Colored Inputs
- Focused Inputs
Desription
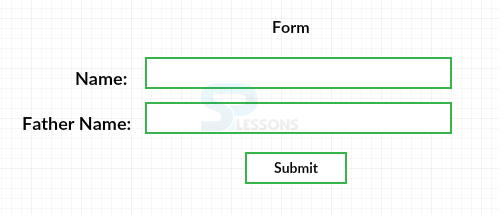
Generally in the page input feilds are used to enter the details such as name, password. Following is an example. The image below demonstrates the basic form as shown below
 The code below demonstrates the Styling input fields as shown.
[html]
<!DOCTYPE html>
<html>
<head>
<style>
input {
width: 100%;
}
</style>
</head>
<body>
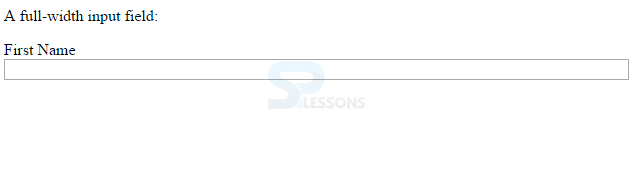
<p>A full-width input field:</p>
<form>
<label for="fname">First Name</label>
<input type="text" id="fname" name="fname">
</form>
</body>
</html>
[/html]
Output
By running the above code in a preferred browser user can get the following output as shown in below image.
The code below demonstrates the Styling input fields as shown.
[html]
<!DOCTYPE html>
<html>
<head>
<style>
input {
width: 100%;
}
</style>
</head>
<body>
<p>A full-width input field:</p>
<form>
<label for="fname">First Name</label>
<input type="text" id="fname" name="fname">
</form>
</body>
</html>
[/html]
Output
By running the above code in a preferred browser user can get the following output as shown in below image.
Desription
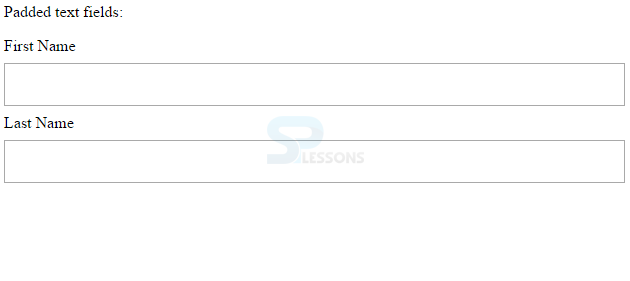
Utilize the padding property to include space inside the content field. The code below demonstrates the Padded Inputs as shown.
[html]<!DOCTYPE html>
<html>
<head>
<style>
input[type=text] {
width: 100%;
padding: 12px 20px;
margin: 8px 0;
box-sizing: border-box;
}
</style>
</head>
<body>
<p>Padded text fields:</p>
<form>
<label for="fname">First Name</label>
<input type="text" id="fname" name="fname">
<label for="lname">Last Name</label>
<input type="text" id="lname" name="lname">
</form>
</body>
</html>
[/html]
Output
By running the above code in a preferred browser user can get the following output as shown in below image.
Desription
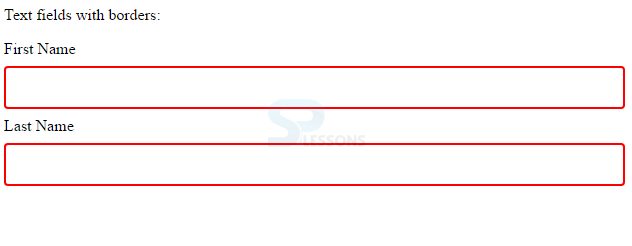
Utilize the border property to change the outskirt size and shading, and utilize the outskirt span property to include adjusted corners, the code below demonstrates the border inputs.
[html]<!DOCTYPE html>
<html>
<head>
<style>
input[type=text] {
width: 100%;
padding: 12px 20px;
margin: 8px 0;
box-sizing: border-box;
border: 2px solid red;
border-radius: 4px;
}
</style>
</head>
<body>
<p>Text fields with borders:</p>
<form>
<label for="fname">First Name</label>
<input type="text" id="fname" name="fname">
<label for="lname">Last Name</label>
<input type="text" id="lname" name="lname">
</form>
</body>
</html>
[/html]
Output
By running the above code in a preferred browser user can get the following output as shown in below image.
Desription
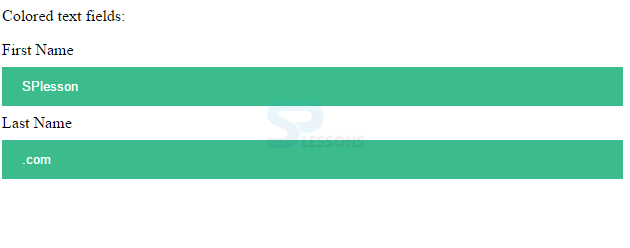
Utilize the background property to add a foundation shading to the info, and the shading property to change the content shading, the code below demonstrates the Colored inputs.
[html]<!DOCTYPE html>
<html>
<head>
<style>
input[type=text] {
width: 100%;
padding: 12px 20px;
margin: 8px 0;
box-sizing: border-box;
border: none;
background-color: #3CBC8D;
color: white;
}
</style>
</head>
<body>
<p>Colored text fields:</p>
<form>
<label for="fname">First Name</label>
<input type="text" id="fname" name="fname" value="SPlesson">
<label for="lname">Last Name</label>
<input type="text" id="lname" name="lname" value=".com">
</form>
</body>
</html>
[/html]
Output
By running the above code in a preferred browser user can get the following output as shown in below image.
Desription
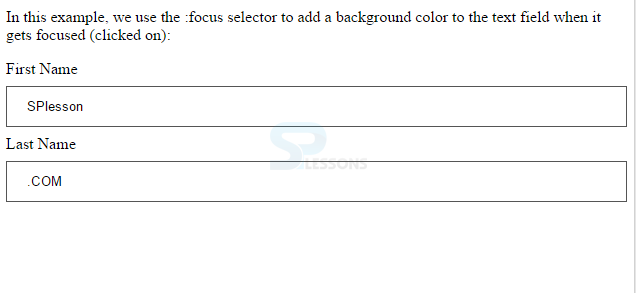
As a matter of course, a few programs will include a blue layout around the information when it gets center (tapped on). designer can expel this conduct by including plot: none; to the information. The code below demonstrates the Focused Inputs as shown.
[html]<!DOCTYPE html>
<html>
<head>
<style>
input[type=text] {
width: 100%;
padding: 12px 20px;
margin: 8px 0;
box-sizing: border-box;
border: 1px solid #555;
outline: none;
}
input[type=text]:focus {
background-color: lightblue;
}
</style>
</head>
<body>
<p>In this example, we use the :focus selector to add a background color to the text field when it gets focused (clicked on):</p>
<form>
<label for="fname">First Name</label>
<input type="text" id="fname" name="fname" value="SPlesson">
<label for="lname">Last Name</label>
<input type="text" id="lname" name="lname" value=".COM">
</form>
</body>
</html>
[/html]
Output
By running the above code in a preferred browser user can get the following output as shown in below image.
Key Points
- While developing web applications forms will play major role.
- The designer can change the size of the window and modification is also possible.
- The input field tag is the regularly using tag in the web page.