


 Introduction
In this article, one can learn about Git for Windows. Following are the Concepts Coverd in this chapter.
- GitHub Configuration options.
- Setting up Repositories.
- How To Connect Local Repository To GitHub?
- Shortcuts Of GitHub.
- Local and Remote Repositories.
- Committing and Syncing.
- Reverting.
Description
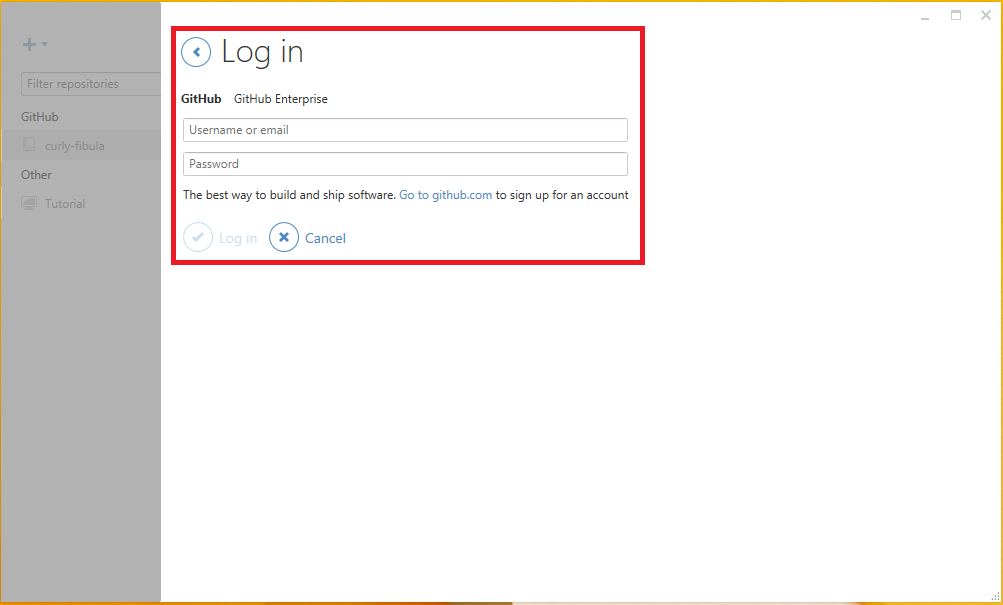
in order to use Git for Windows Open Github in windows. Register and login with account details.
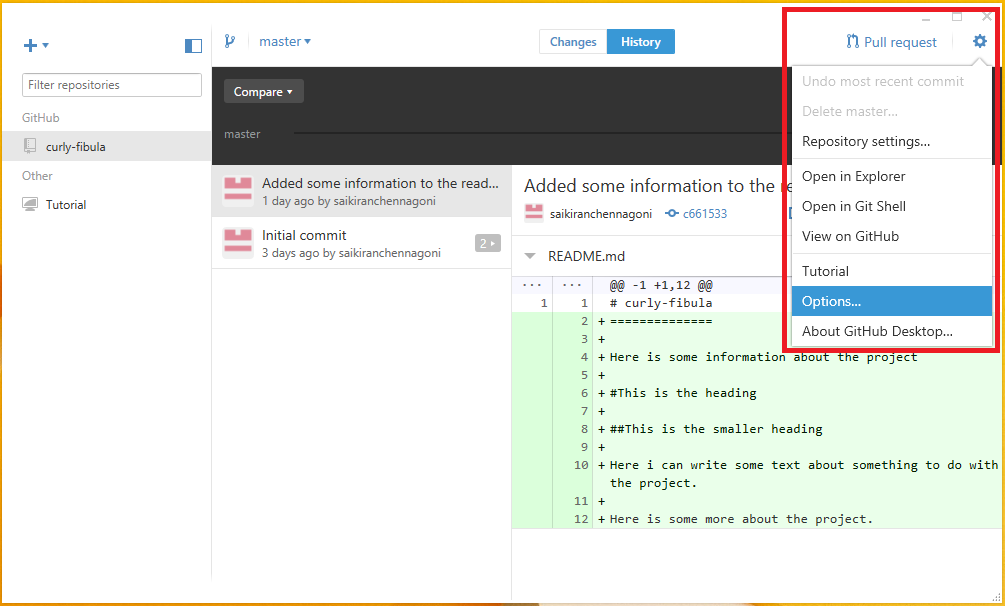
 Immediately after logging into the account, the first thing is to make sure that github is configured with windows. To do this, click the tools icon on the top of the screen and then choose options from the tools menu. That’s going to bring a new window where some options are provided and can be changed if necessary. The below image shows the option window menu.
 Here in the options menu it is listed with some options they are.
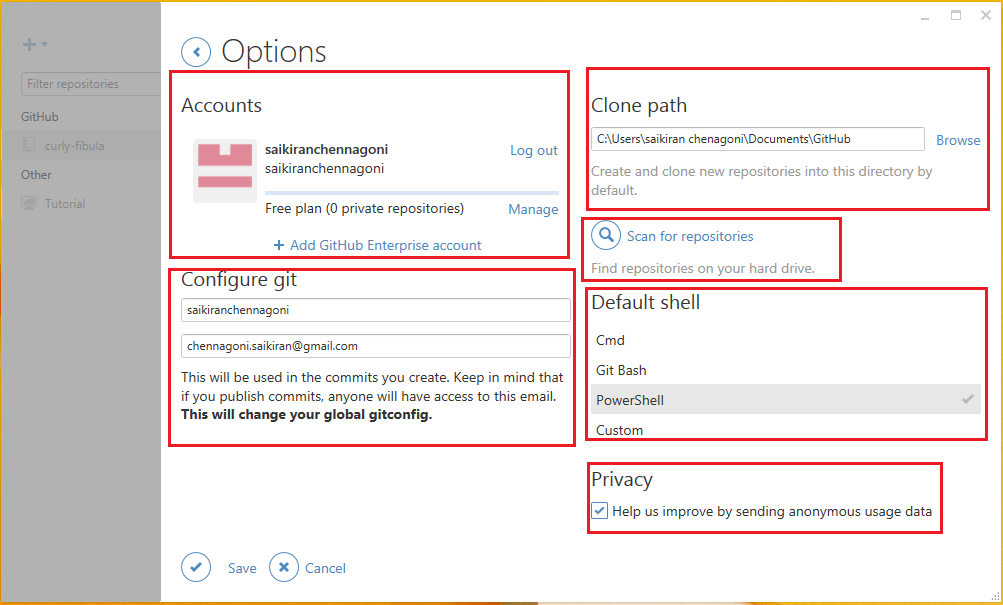
Option 1
First to notice are the account details which can be changed at any time as per the need. But make sure that the account information available only in the options section.
Option 2
Configure Git, which means changing some sections of the global Git config. This is where the specified name and email to be shown with the commits. Make sure before giving the mail address because whenever the commit made the email address provided shown next to that commit. This information will be shown either publicly or privately.So one must be careful before providing the information.
Option 3
Default storage directory or clone path is the other option provided which is an important piece of information to configure. Every repository that have been set up locally will go in this location by default. The location can be choose but it is good to have a convenient location.
Option 4
Scan for repositories scans the repositories on the hard drive and can exclude and include the repositories by using this option as per the need.
Option 5
Default shell here provided with the different shells like.
- Cmd
- Gitbash
- PowerShell
- Custom
Option 6
Privacy sends anonymous usage data. A check box is provided either it can be enable or disable as per the requirement.
Description
There are different ways to setup a repository. To create a new local repository the option provided with a plus (+) create button at the top of the screen which brings a new window. Give a repository name in the option provided and select the location in hard drive where the repository has to be stored. And then click the create repository option. This is how a local repository can be created.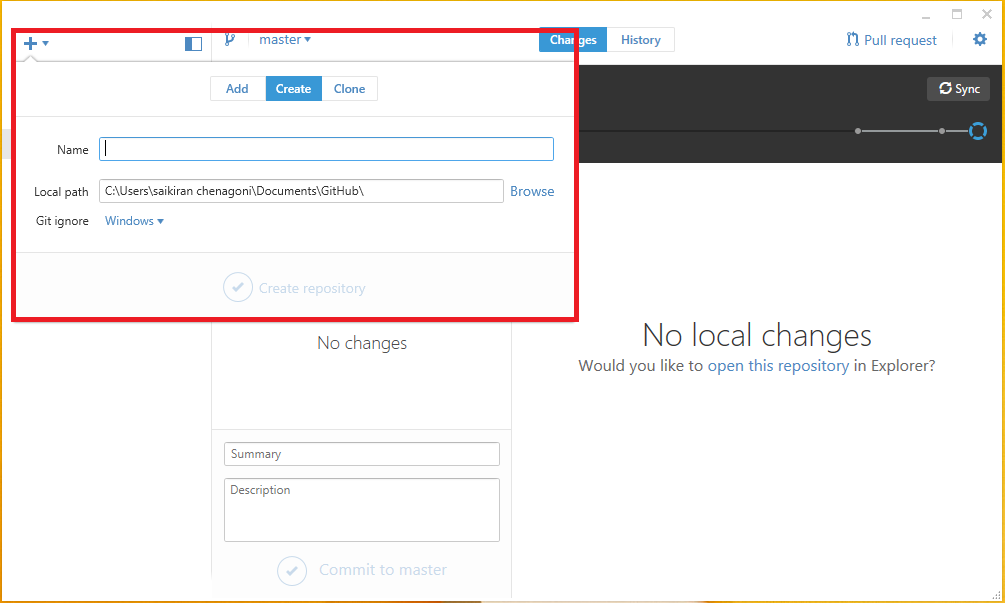
Description
The repository which is setup allows only to work locally so the changes can be done and in fact, the changes already made can be commit here the “gitattributes” and “gitignore” were created already. In order to commit the changes type something in the summary option provided in the changes menu and click the button commit to master as shown in the below image.
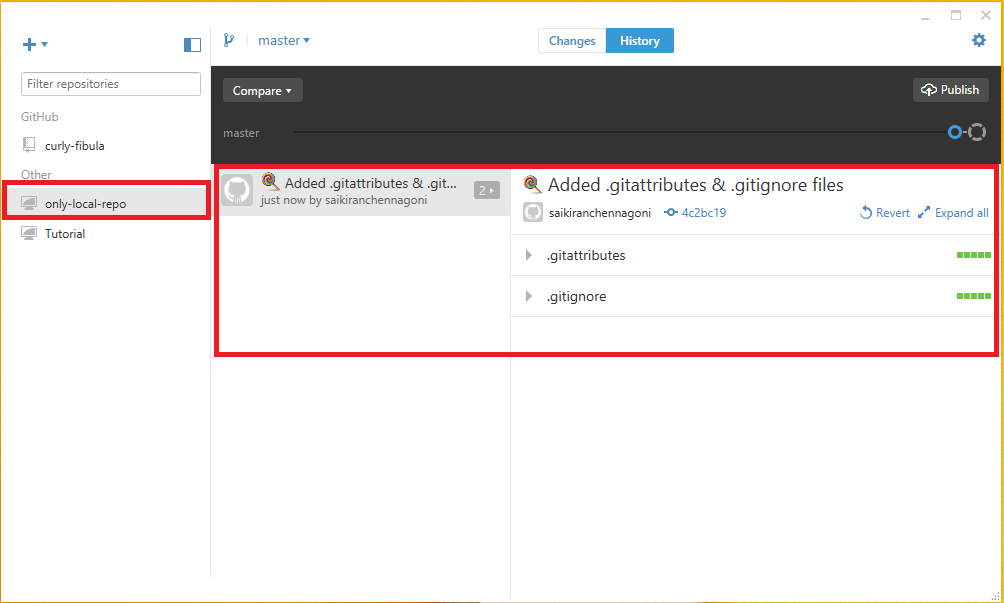 By clicking publish, the repository is connected to the GitHub. As the repository is connected to the GitHub all the changes can be seen over GitHub. To check it out select the repository right click on it and select the option view on GitHub which directs to the git hub website showing initial commit made in the local repository.
Description
Now on GitHub website, create a new repository.In order to do this, click on the button create new repository on the top left corner of the page. Create a repository normally as before. After creating the repository check out the shortcuts that are provided in using GitHub for windows.
Clone in desktop is the shortcut provided on the page.By clicking that button the GitHub for windows brings up the local repository screen back again.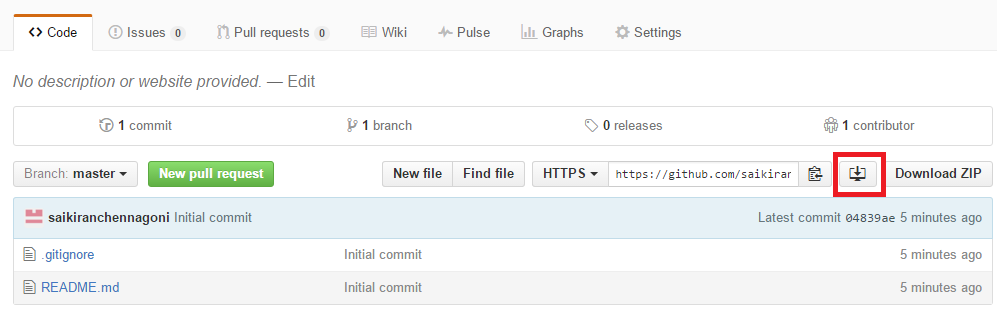 And now one can work with this repository locally and a great shortcut for setting up the repository and the clone in desktop button can works with any GitHub repository.
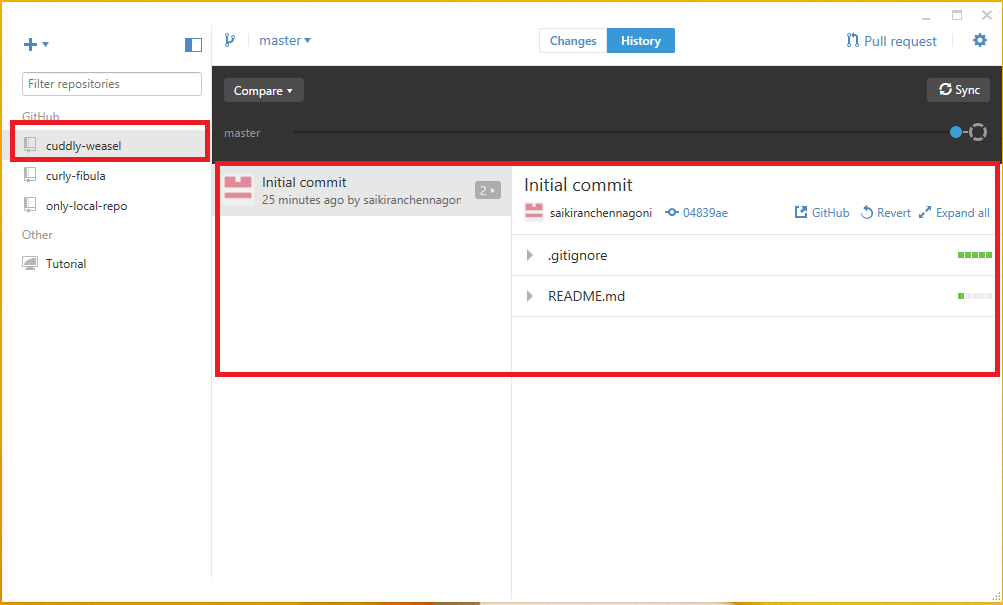
Alternative
forms
Setting up repositories can even be done by dragging i.e., any pending project can be directly dragged into the GitHub local repository from the hard drive where the changes can be committed and pushed to the GitHub.
Description
Local and the remote are the terms to know the location of the repository i.e., the repository can be created either locally or at the GitHub website.To check, click the repositories in the GitHub which shows the information about the repositories by placing the cursor on the repository
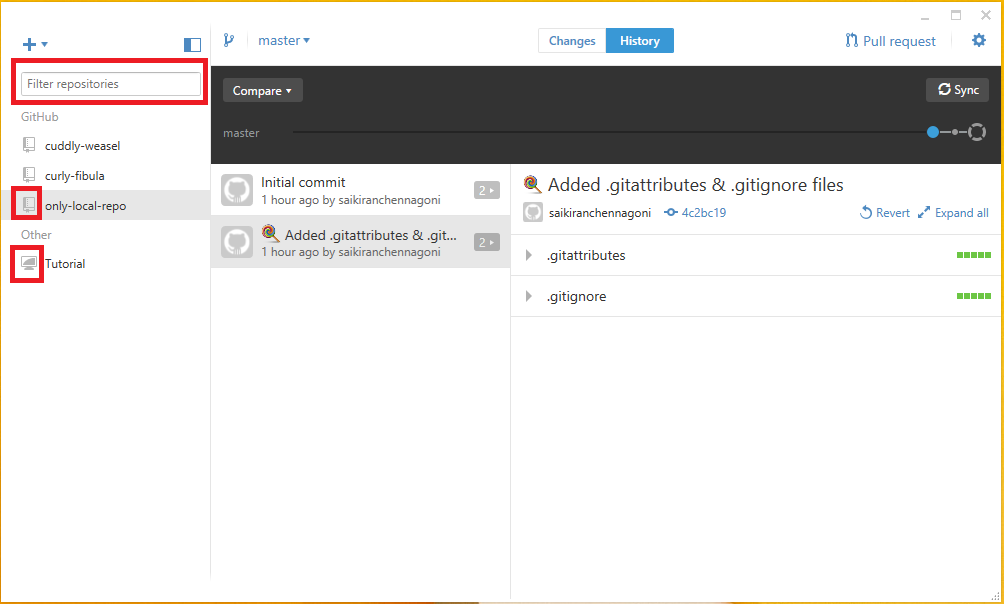
Local and remote repositories can be identified by an icon present on each repository. The repositories can be searched using the filter repositories provided on the top of the window and is helpful when there are lot of repositories.
Alternative
forms
The other option which are provided are just simply right click on the selected repository and we find some options they are
- View on GitHub
- Open in explorer
- Open in Git shell
- Remove
Description
The changes in the repository can be commit and sync in an easy way. The below steps shows how to commit and sync the changes to a repository.
Step 1
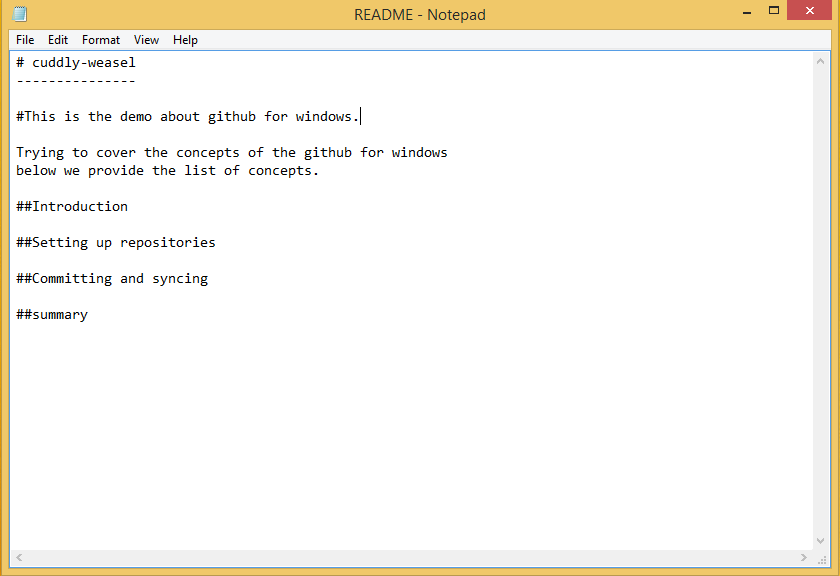
To sync the committed changes select a repository from the GitHub. Right click on the repository and select the option “open in explorer”. To make some file changes, click the explorer which brings the window of that repository files .Open the README.md file and start typing some text.
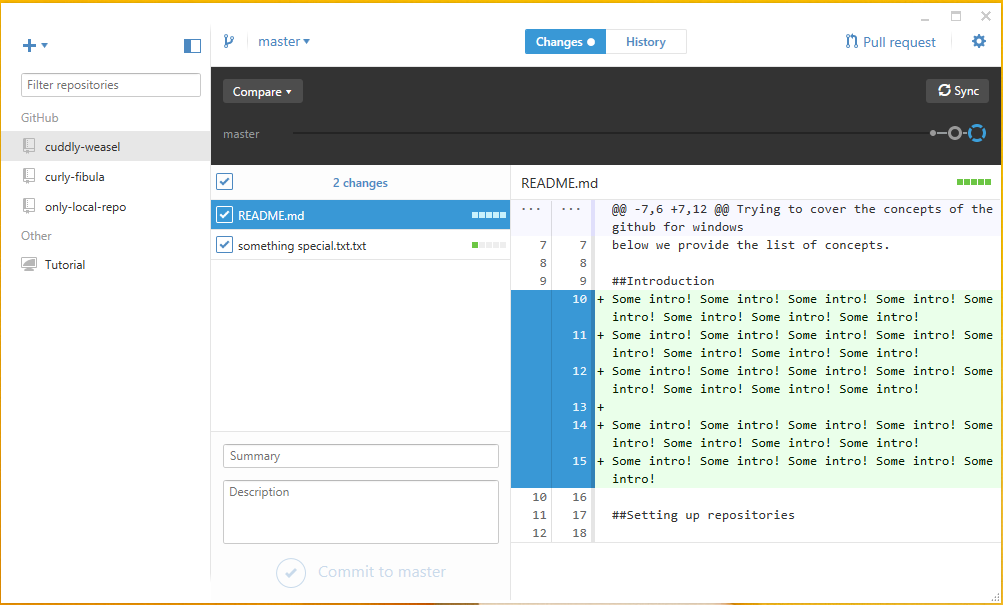
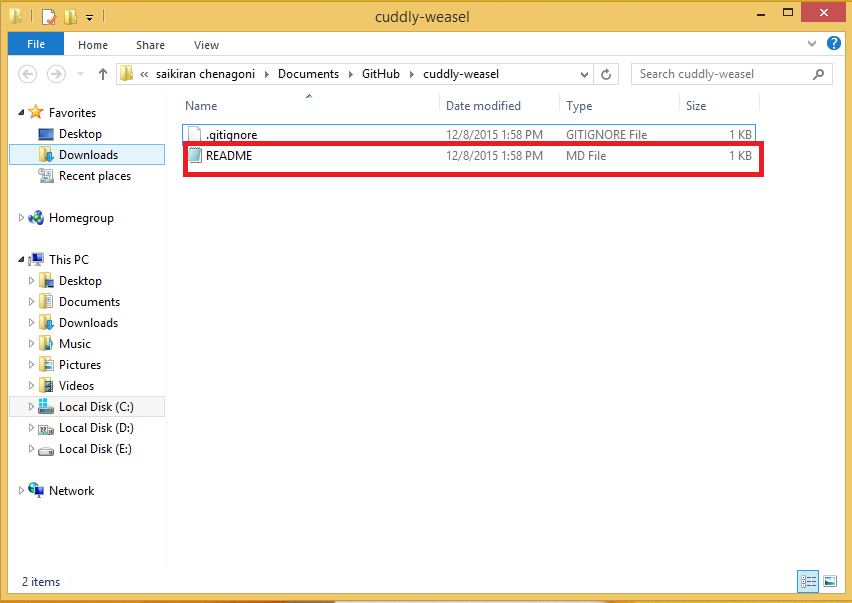 Type something about the project are something like shown in the image below.
Step 2
Before committing, check the file on the left side preview box the changes made are colored with the 'Green' and a 'plus (+)' sign are added to all the lines. The changes can be either included or not included by clicking on the check box provided on the top. The additional information can be provided in the below description box and the change summary, and click on the commit to mater button.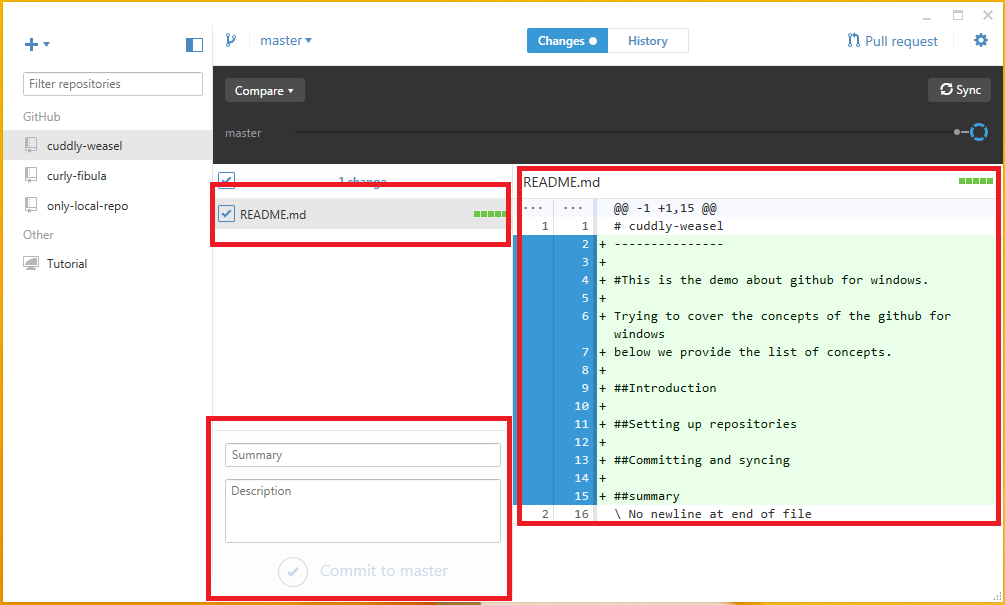
Step 3
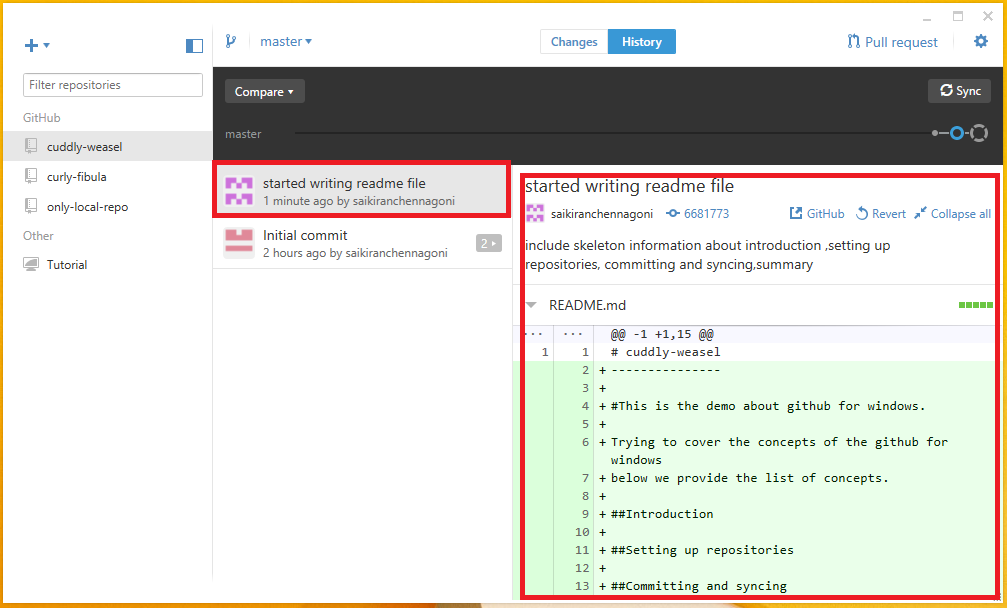
The committed change can be seen in the history it shows the preview on the left side of the same window as show in the image below.
Step 4
The committed change status shows not yet sync. To sync, go to the button sync provided on the top left corner of the GitHub window place the mouse on the sync button and that show the status saying “a head by one commit, behind by zero commits”.
Step 5
Go back to the file location in the hard drive and make some more changes. This time add a new file so that one would be existing file and the other would be the new file. Also add some more text to the readme file as shown below.
Step 6
Go back to GitHub and find the changes adding some text the existing file and add a new file to the repository as shown in the below image.
Step 7
Commit the change to the master branch as done before and in a similar way,one can remove and add the same text in between the exiting text. And finally, all the changes committed can be sync by clicking the sync button.
In this way the committing and syncing works in the repositories.
Description
The reverting undoes committed change in GitHub. Instead of removing the commit from the project history, revert in git undo the changes made by commit and make a new commit with the resulting content. Which prevents git from losing history.
Command: git revert <commit>
The above command generate a new commit and undoes all the changes in the <commit> and then apply it to the current branch. The below images show the revert button in github.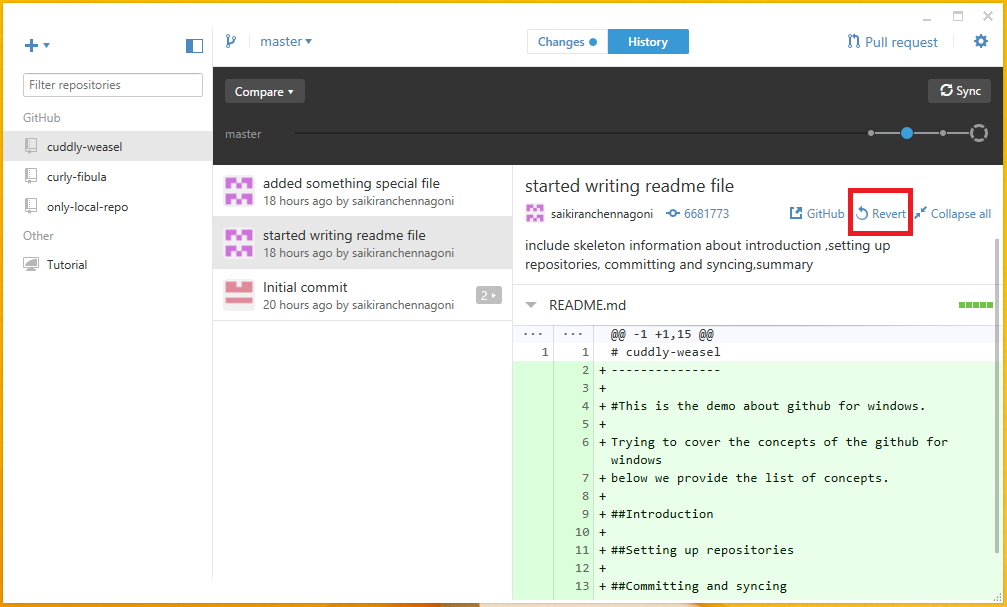 Reverting is very useful to remove entire commit from the project as per the need. For example, when a bug was introduced in a single commit it can be tracked down, fix it and commit a new snapshot. Instead of doing all this manually, git revert automatically do all this.
Points
- Repositories in GitHub can be created either locally or at GitHub website.
- The committed changes locally can be synced very easily using GitHub.
- Default shells are provided with different shell in Git for Windows, which help the developer to custom their own shells.